
Accounts: Free Trial Wizard
What is the Free Trial Setup Wizard?
The Free Trial Setup Wizard is a guided, step-by-step screen that walks you through the essentials of setting up your account the very first time you sign in. Instead of a single confirmation form, it collects your name, time zone, branding, and a little about your business in one smooth flow, then drops you onto a Dashboard that already looks like yours.
It appears automatically the first time the account owner signs in to a new Free Trial. Invited Staff, Clients, Contacts, and CRM Contacts are not affected, they continue to use the standard invitation form.
How do I start the wizard?
After you sign up, you will receive a confirmation code by email. Enter that code on the confirmation screen. Once the code is accepted, the original sign-up form disappears and the setup wizard opens automatically.
IMPORTANT: The setup wizard is part of activating your account, so it is required and cannot be skipped. It only appears once. After you complete it, it will not show again the next time you log in.
Step 1: How do I enter my name and password?
The first step captures who you are. Your First Name is pre-filled from your sign-up, and you can fill in your Last Name. You will also set your Password here.
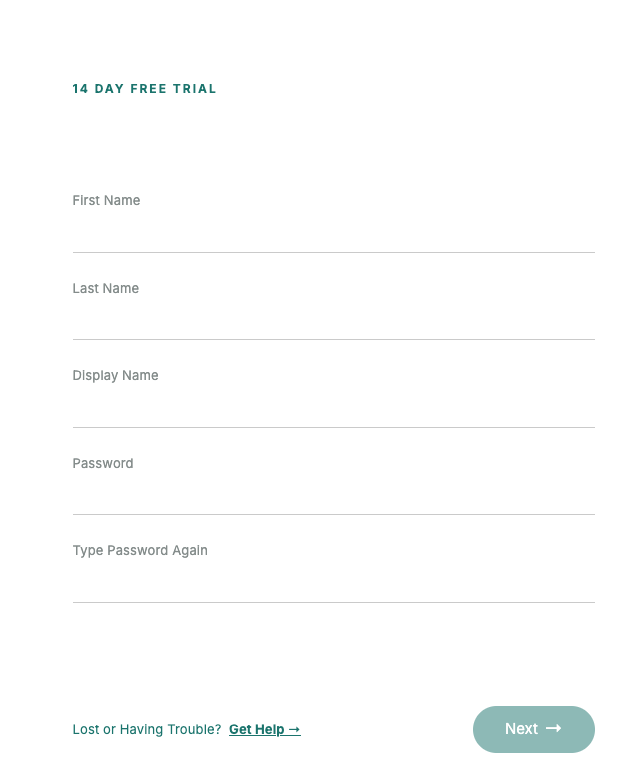
The Display Name is the name shown for you across the Portal. By default it is built from your First and Last Name, but you can type a custom value if you prefer to go by a nickname or alias.
TIP: Whatever you set as your Display Name becomes the name people see for you throughout the platform. Leave it as-is to use your real name, or enter a custom Display Name to use a friendly nickname or alias instead.
Step 2: How do I set my organization and time zone?
Next, enter your Organization Name and confirm your Time Zone. The Time Zone is automatically detected from your browser, but you can open the drop-down and choose any time zone from the full list.
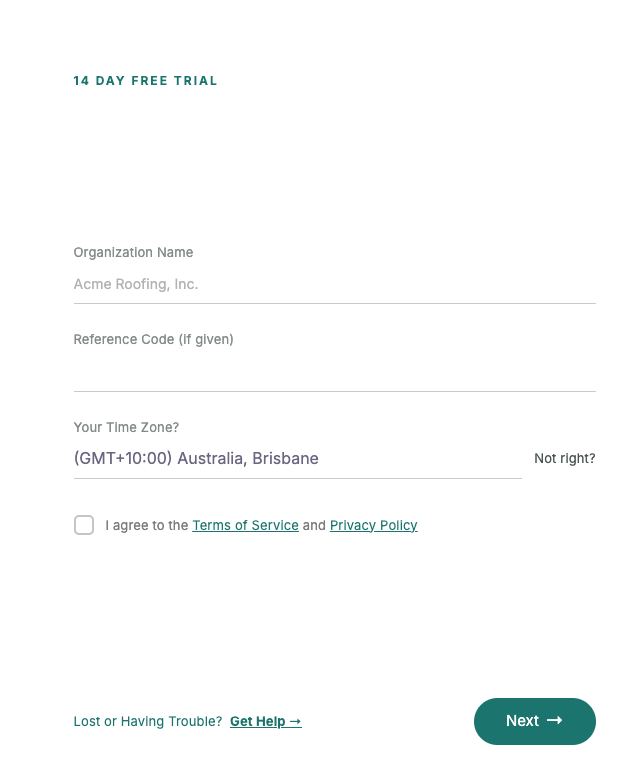
You must also check the box to accept the Terms of Service before continuing.
IMPORTANT: If you click Next without accepting the Terms of Service, the wizard will not advance and will prompt you to check the box first.
TIP: Set your Time Zone to where you actually work. It is applied to both your personal My Account and your Organization Settings, so dates and times line up everywhere across your Portal.
Step 3: How do I choose my industry and branding?
Tell us about your business by selecting your Industry from the list of business types. This helps tailor your experience to the kind of work you do.
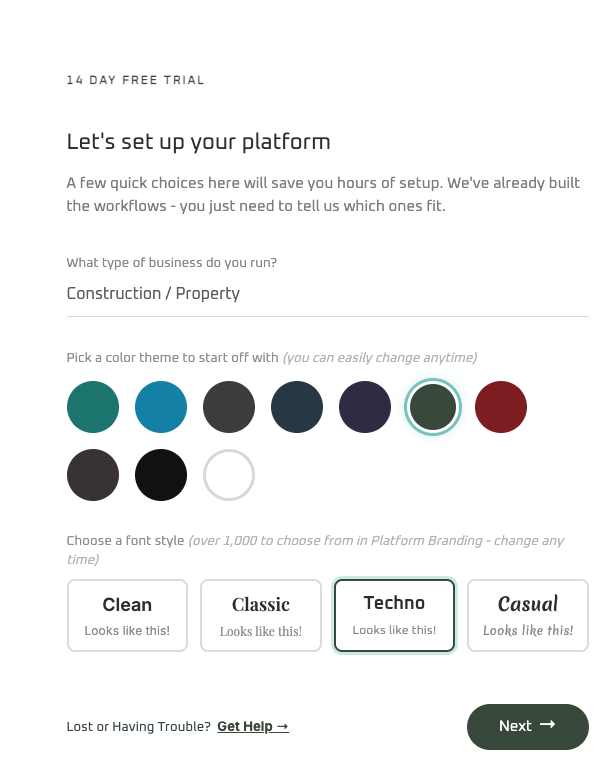
Then pick a Color Theme and Fonts for your Portal. A few starter options are shown as examples, and you are free to choose any combination you like. Your selection previews live, so you can see how your Portal will look as you choose.
TIP: These are just your starting colors and fonts. You can fine-tune your branding in detail at any time later from your platform settings.
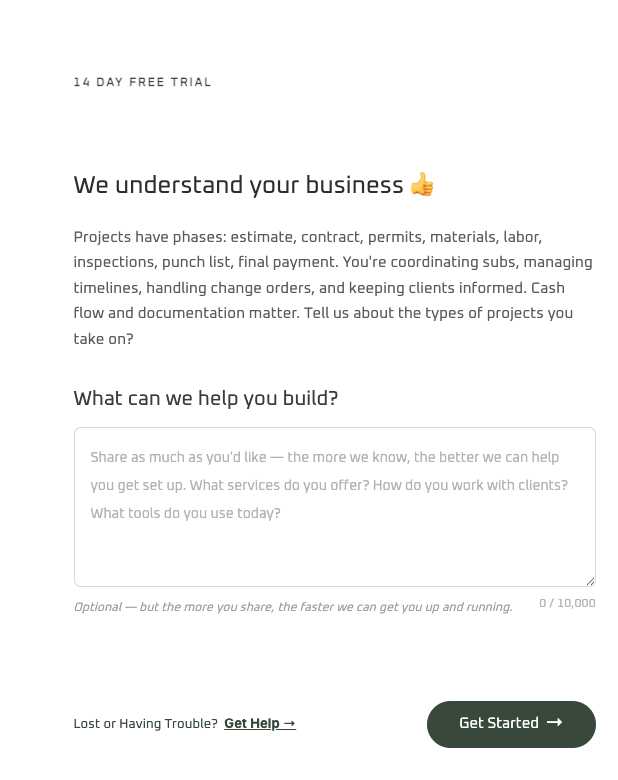
Step 4: How do I describe my business?
In the final step, add a short description of your business. This gives the platform context about what you do so it can help you get set up faster.
What happens when I finish the wizard?
As soon as you complete the last step, you are taken straight to your Dashboard, already styled with the colors and fonts you picked.
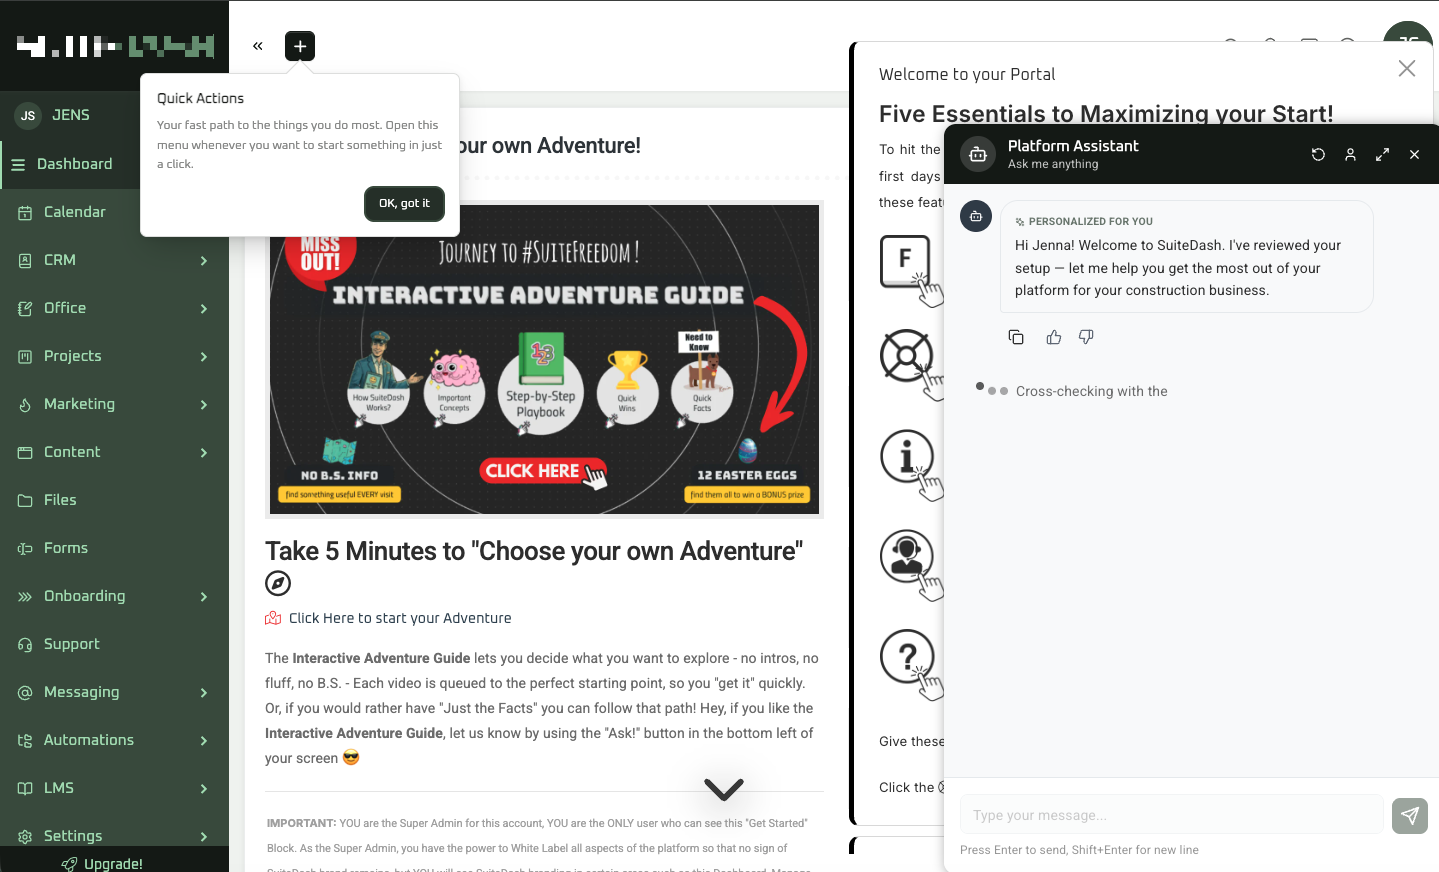
Platform Assistant, your built-in AI assistant, opens automatically and greets you by your first name. Using the details you provided in the wizard (your business name, industry, and description), it suggests a few helpful next steps so you know exactly where to begin exploring the platform.
TIP: You can ask Platform Assistant questions at any time by clicking the question mark icon, however It is a great first stop when you are figuring out how to set something up in your new Portal.