
Appointment Calendar Settings
How do I configure Appointment Calendar Settings?
To configure additional settings for your Calendar, navigate to Calendar > Settings.
CLICK HERE to learn about Appointment & Scheduling

Or from the Calendar Menu item, you can then click settings on the top menu;

Appointment Settings
To update your Appointment Settings you will go to Calendar > Settings > Appointment Settings.

You can toggle Enable/Disable 'View All' Appointments for Staff. If enabled, you can show all Appointments to staff members. You can choose which Roles, Teams or individuals you would like to be able to view all of the Appointments.
Additionally you can toggle to give the same users the option to be able to Schedule and/or cancel Scheduled Appointments.
Click the My 'View All' Appointments Preferences arrow to set how you would like the appointments to be shown.

Please note: Each staff member that has permission to View All Appointments will be able to go their own Appointment Settings to choose how they personally see the Appointments.
Lists
If you want to view the Appointments via a list, click list in the dropdown options and then click Appointments on the top menu to view the list.

Appointment Generator Defaults
To update your Appointment Generator Defaults you will go to Calendar > Settings > Appointment Generator Defaults.

You can toggle Enable/Disable Appointment Scheduling on or off.
If disabled, the +Add Appointment button will not show on the Calendar for any user. If enabled, you can also choose whether or not Contacts will be able to schedule the Appointment themselves.

There is also an option to remove Auto-Block Availability for certain Appointment Types:
Google Calendar Events
Assigned CRM Follow-Ups
Other Calendars of the assigned staff
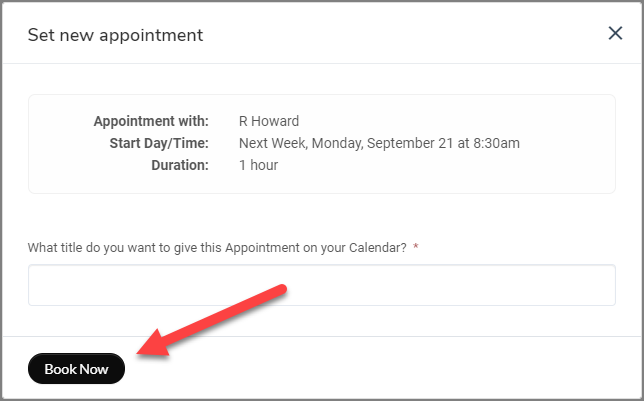
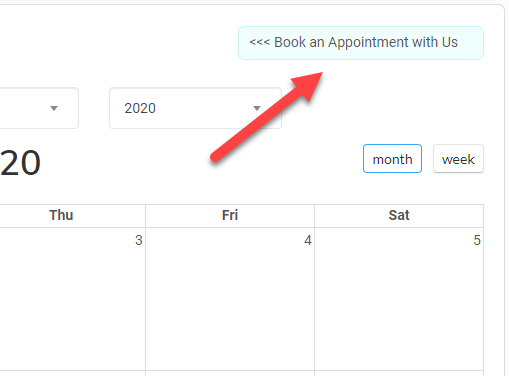
You can set custom text for the button that will confirm creating the Appointment, as well as text that appears beside the "Add Appointment" button on the Calendar.

The "Add Appointment" button appears when selecting a Time Slot during the Appointment scheduling.
The Additional Message appears to the right of the Calendar, next to the "Add Appointment" button.
You can set custom text for the button that will confirm creating the Appointment, as well as text that appears beside the "Add Appointment" button on the Calendar.
Appointment Reminder Defaults
In this section you can set your default reminder emails and notifications for both the Target and the Staff member.

Calendar Defaults
To update your Calendar Defaults you will go to Calendar > Settings > Calendar Defaults.

You can then select the day you would like your week to begin on.
