
Appointment Generators & Availability
What is an Appointment Generator?
Appointment Generator (formally Appointment Type) is the category of appointment you create, and make available for Contacts to select while booking an Appointment. For example, you can have a "Consultation" Appointment Generator for new Contacts, a "Skills Training" Appointment Generator for more established Contacts, and more. You can have any number of different Appointment Generators so that your Appointments can serve different purposes.
How do I create an Appointment Generator?
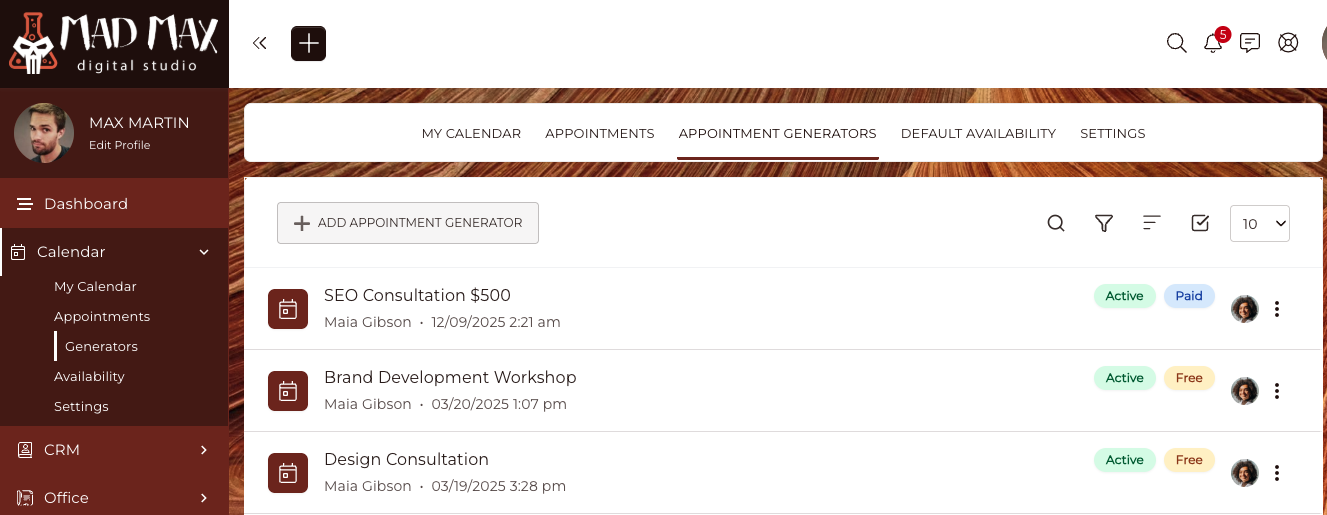
To get started, navigate to Calendar > Appointment Generator, and click +Add Appointment Generator.
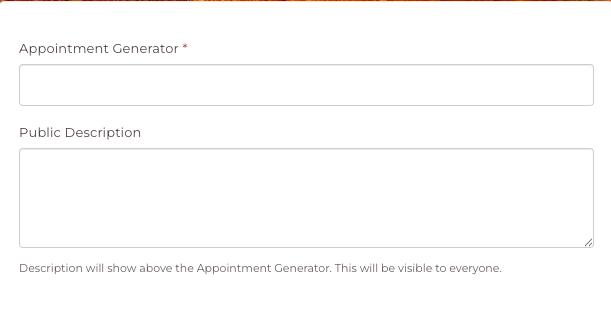
You will then be required to give a name to your Appointment Generator.
You can now choose to create it as a Free Appointment or Paid Appointment.
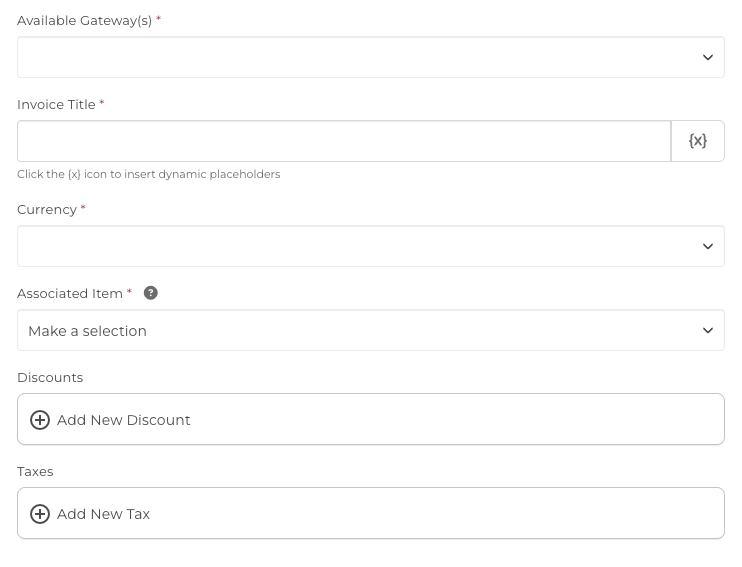
 If you select Paid Appointment further settings will appear so you can set your Pricing Options.
IMPORTANT: Once an Appointment Generator has been created as either free or paid, the payment type cannot be changed. If you need a different payment type, you will need to create a new Appointment Generator.
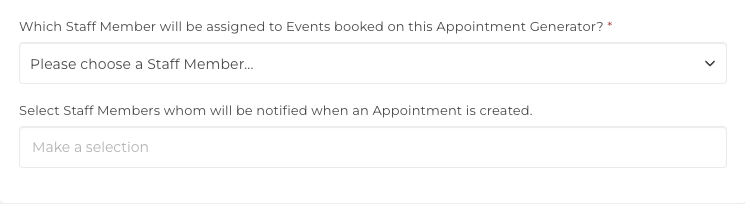
You can choose which Staff Member will be assigned to the booked Events on the Appointment Generator, and can optionally select other Staff Members to receive a notification when a booking is created.
Calendar-Only Settings
These options apply only when the Appointment is created directly from the Calendar. They are not used when the Appointment Generator is used inside a Form or triggered through Automations.
You can now add your styling options by adding a color for the Appointment Type and and icon.

You can choose to show this Appointment Generator to all Contacts or you can select to Show/Hide for specific Circle(s).
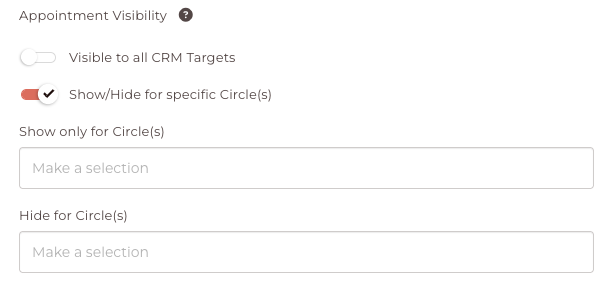
For Example: If you would like to show this Appointment Generator to only Circle One and Circle Two, you would select both Circle One and Circle Two in the "Show only for Circle(s)" field. This will hide this Appointment Generator for all Contacts that are not in Circle One or Circle Two.
Click 'Configure Automations' to set automation to fire when the Appointment Generator is ' Booked, Rescheduled, Canceled and/or Completed'.

How do I manage my Appointment Generator?
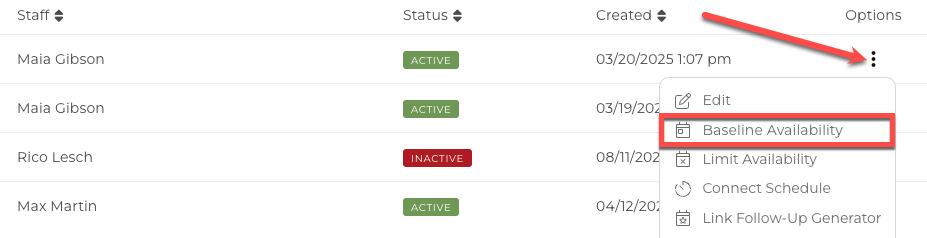
You can interact with the Appointment Generator through the Options menu button in the List View.

Edit: Change the information you set for this Appointment Generator.
Baseline Availability: Customize your availability schedule for this specific Appointment Generator. By default, the settings you chose for your Default Settings will be auto-generated. Learn more about managing your availability below.
Limit Availability: Specify how this specific Appointment Generator should be affected based on other Events & Appointments.
Connect Schedules: Schedule Automations or targeted reminders and correspondence based on your Appointment Date. These can be scheduled 'prior to' or 'after 'the Appointment has taken place.
Link Follow-up Generator: Apply an Follow-up Generator.
Notifications: Customize Notifications and Reminders for Appointment bookings.
Target Reminders: Create reminders for the Contact to receive prior to their Appointment.
Staff Reminders: Create reminders for the Staff member responsible for the Appointment.
Styling Options: Choose the background color and upload an icon for this Appointment Generator.
Set Inactive: While Inactive, an Appointment Generator is hidden and not selectable by Contacts. Newly-created Appointment Generator will default to Inactive Status, so that you may configure it before going live.
Duplicate: Duplicate this Appointment Generator and all of its Availability Settings. This is a great option when you need to create the same Appointment Generator for several Staff Members!
Delete: Remove the Appointment Generator.
IMPORTANT: If you set an Appointment Generator as Inactive or Delete it, it will remove all related bookings from My Calendar. This cannot be undone.
How do I manage my Styling Options?
Decide which Appointment Geneartor you would like to style and select Styling Options from the list of available Options.

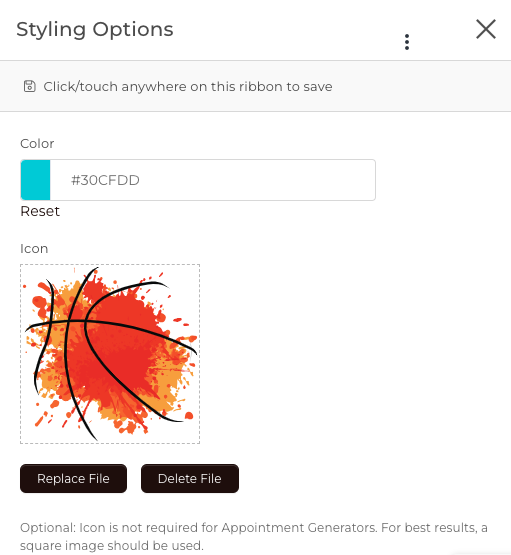
You can select a color or type in the hex code. There is also an option to upload an icon. For best results please ensure that your uploaded icon is square.
How do I customize Appointment Reminders?
Select Target Reminders from the option list.

Here you can add reminders to be sent to your Contact prior to their appointment.
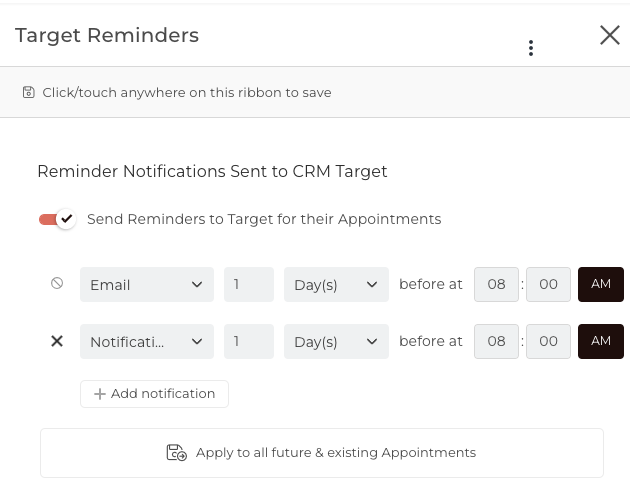
The same can be done for Staff Reminders too. Just select 'Staff Reminders' from the options and follow the same instructions.
How do I customize Appointment Notifications?
Select Notifications from the list of options next to your desired Appointment Generator.
 You can click the dropdown arrows to customize each Notification for booked, cancelled, rescheduled, along with email reminders and SMS reminders.
IMPORTANT: SMS reminders are only available when using the SMS integration.
How do I schedule automation and further communication?
You can schedule further communication and automation using your Appointment date as the 'Based on Date'. To create the automation, go to Automation>Schedules and select Dynamic Schedules to create your Automation schedule.
CLICK HERE to learn more about Automation Schedules
When you have created your Schedule, go to the Appointment Generator select 'Connect Schedules' from the options list.

Click the dropdown arrow to send your pre-created Schedules to either your Staff Target (the appointment owner) or CRM Target (the Contact).

How do I set my Availability?
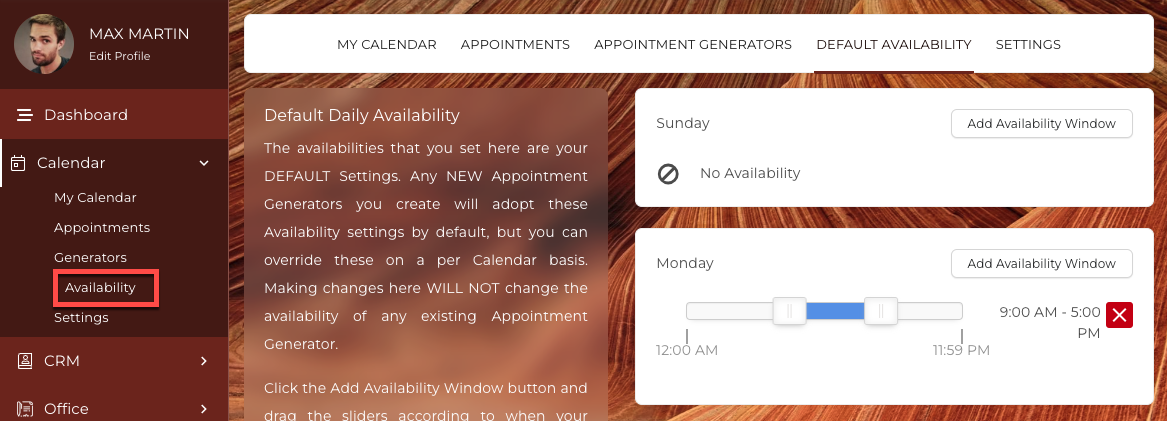
To set a Default Availability for your Appointment Generators, navigate to Calendar > Availability.
Any new Appointment Generator will generate these settings by default, but you can override them individually.
To set an Individual Availability for an Appointment Generator, navigate to Calendar > Appointment Generator. Then select Baseline Availability from the Options menu button.
Daily Availability
Here you can select your Availability on a weekly basis.

Each day of the week is shown with a configurable Availability Window. Click and drag the buttons on either side of the schedule slider to adjust your available time window. Click Add Availability Window to add an additional slider. To block availability for the day, simply click the red "X".
Appointment Scheduling Settings
These settings control the duration, padding, intervals, and cut-offs related to your Appointment Generator. When an Appointment is being scheduled, the Time Slots that are available to choose from will be based on the combination of these settings.
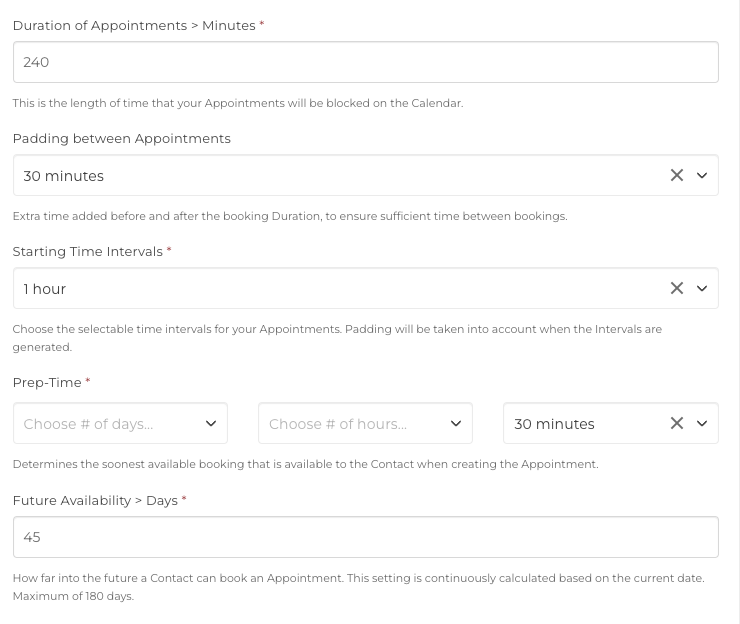
Duration of Appointments: This determines the base duration of each Appointment that is made on this Appointment Generator. The maximum is 1440 minutes.
Padding between Appointments: This setting blocks an additional amount of time before and after Appointments, to ensure that bookings cannot be made back-to-back. If you would like to allow back-to-back bookings simply click the X to remove the padding.
Stating Time Intervals: This determines the "chunks" that Time Slots will be broken into. These are the Intervals that will be selectable by your Client.
Prep-Time: When a Client creates an Appointment, this setting determines the soonest available booking. This is to allow adequate preparation time.
Future Availability > Days: This setting determines how far into the future a Client is able to make an Appointment.

Click the Preview button to see what your Staff or Contact will see when they create an Appointment. These Time Slots are generated based on the appointer's settings.
Time Slots that already have Appointments will not show up in the list.

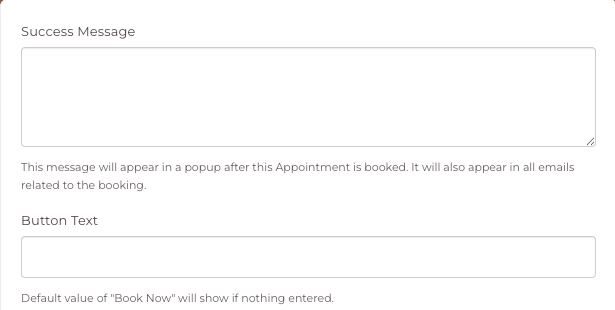
You can customize message text and other settings in Calendar Settings.
CLICK HERE to learn about Calendar Settings