
FILES: File Transfer
What is File Transfer?
File Transfer allows you to send a file or set of files to someone via a secure download link. You can protect the file(s) with password protection, a limited number of downloads, and expiration after a certain time frame.
Since the transfer takes place outside of the platform, the recipient is not required to even have an account. This feature is perfect for sending large and/or sensitive documents, especially to non-tech savvy customers.
The file or collection of files is sent as a Package, which acts as a container. You can send documents, images, videos, or any other type of file within a Package.
File Transfers can be initiated by the Super Admin, Admin, Project Manager, and Office Manager Roles.
How do I Transfer Files?
Navigate to the Files menu item.
 Click the Transfer Files button at the top of the screen.

To get started, you'll first need to create a Package. This will begin a wizard which will guide you through the steps of the process. As long as the Package has not yet been sent you can click the tabs at the top of the modal and complete the sections in any order. You can also click Cancel located in the bottom left-hand corner if you would like to exit the wizard.

Click the Create New Package button.
 Package Title: Choose a name for the Package. This name will be visible to the recipient.
Select Users: You can choose from any type of user on the platform (Contact or Staff) or can enter an email address that is not registered into the account.

You'll be able to choose from files that are already uploaded into the platform. Check the boxes beside each file you would like to include in the Package. You can click on Folders to open them. To search for a specific file, you can type into the Search Files field at the top.
 When your recipient receives their email link, they will be given a unique 6-digit code to access their File Package. You can add extra layers of security with these settings.
By default, the Package will remain available once created. However, you can choose to limit the number of downloads permitted by each recipient(s), or choose a number of days that the link is still valid. Once these limits have been reached, a message will be displayed stating that the Package has expired if access it attempted.
You can also choose to password-protect the Package. You can combine these security settings as you'd like.
If you'd like to notify a user(s) when the Package is downloaded, you can choose from a Staff Member or Team from the Select Users dropdown menu.

ou can leave the message as the default text or you can modify it with the WYSIWYG editor. You can change the default message that populates in Email Templates.
CLICK HERE to learn about Email Templates
IMPORTANT: Be sure to include the {{fileDeliveryLink}} and {{sixCode}} Placeholders in the message, as these are required to generate the download link and required ID Code.
I prefer to send the link myself: If you click this option, the link will NOT be sent. Instead, you will be provided with the download link on the next screen.

Choose a recipient from the dropdown menu to display a choice of two links. (If sent normally, this option will not show.)

Transfer Option #1 is a unique link generated specifically for that user that does not require an ID Code.
Transfer Option #2 is a generic link that can be sent to anyone (including a recipient outside of the platform)), and will require the displayed ID Code to access.
What does the recipient see?
When you send the File Transfer, the recipient will receive an email containing the download link, as well as an ID Code they will need to use to access the Package.

Clicking this link will bring them to a page featuring your logo at the top, with a prompt for the 6-digit code.

The user can type in the code, or simply copy the code and paste it into the first input field, which will automatically fill in the remaining fields.
 After inputting the code (and password if applied during the creation of the File Transfer), the user will be directed to a download interface page. Clicking the Download button will download the file, or if multiple files are included in the package, it will be downloaded as a ZIP file.
Once the link has expired, or if the number of downloads has been reached, accessing the download page will result in a message that the Package has expired.

How do I manage File Transfer Packages?
In your Files list, you will have a special Folder named File Transfers. Click this folder to access any File Transfers you have created.
 You'll be able to see at-a-glance when the File Transfer was sent, how many items are included in the Package, and the deadline set to access it, if applicable.
You can also see how many times the download page has been viewed, and how many times the files were downloaded.

Click the name of the Package to see the files inside. You can then download them from that screen.
For more options to interact with the Package, click the chevron-square-down dropdown menu.

Download: Download the Package locally.
Resend Email: Selecting this option will allow you to resend the email notification containing the download link. You also will be able to modify the message that is sent.
Share Options: View options to copy the direct link to the Package to share. These options are identical to the ones shown if you choose to send the link yourself.
Delete: Remove the Package from the platform. Users will no longer have access to the Package from the download link. The file(s) inside the Package folder will also be deleted.
How do I change the URL for the File Transfer page?
By default, the keyword in your Friendly URL will be home.
If you'd like to change it, navigate to Files.
 Click the icon located in the top righthand corner of the screen.
 At the bottom of the modal, you'll be able to change your Friendly URL for the page that your users are linked to for downloading files.

How do I upload files directly while creating a File Transfer package?
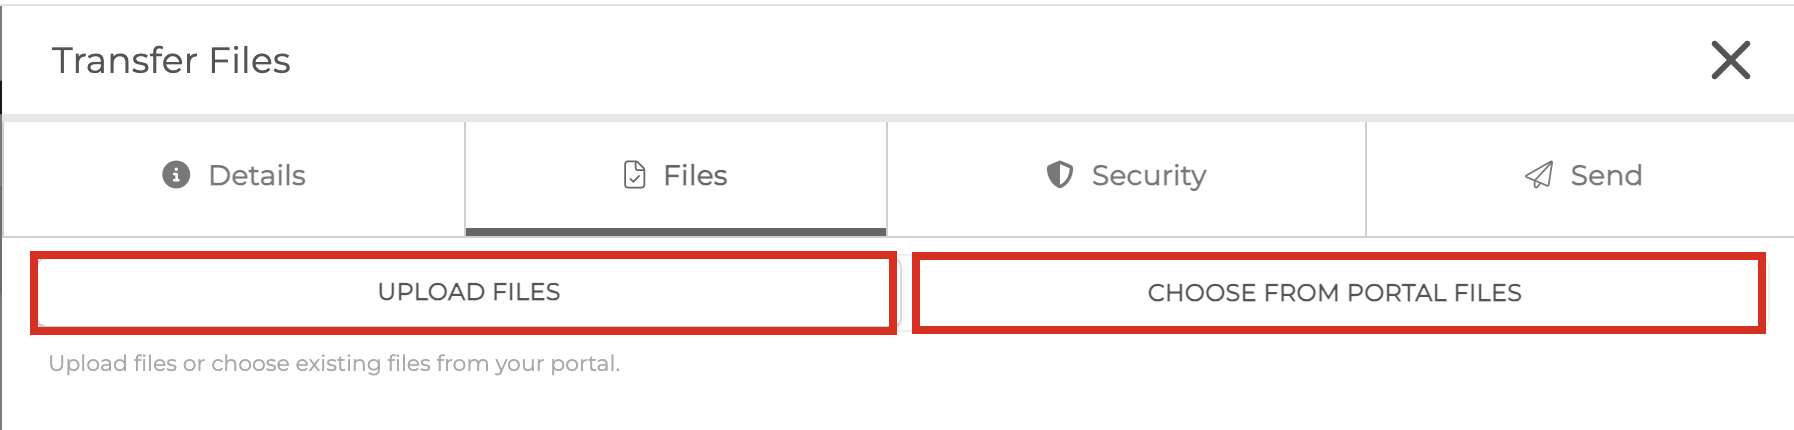
When you build a File Transfer package, the Files step now lets you upload files straight from your computer, so you no longer have to leave the wizard, add the file in your file manager, and come back to find it. You can still choose files already in your Portal, and you can mix both in a single package.
At the top of the Files step you will see a toggle between Upload Files and Choose from Portal Files. Both flows work together, so any combination of uploaded and existing files can go into the same package.
How do I upload the files?
On the Upload Files tab, you can drag and drop files onto the upload zone, or click Select Files to browse your computer.
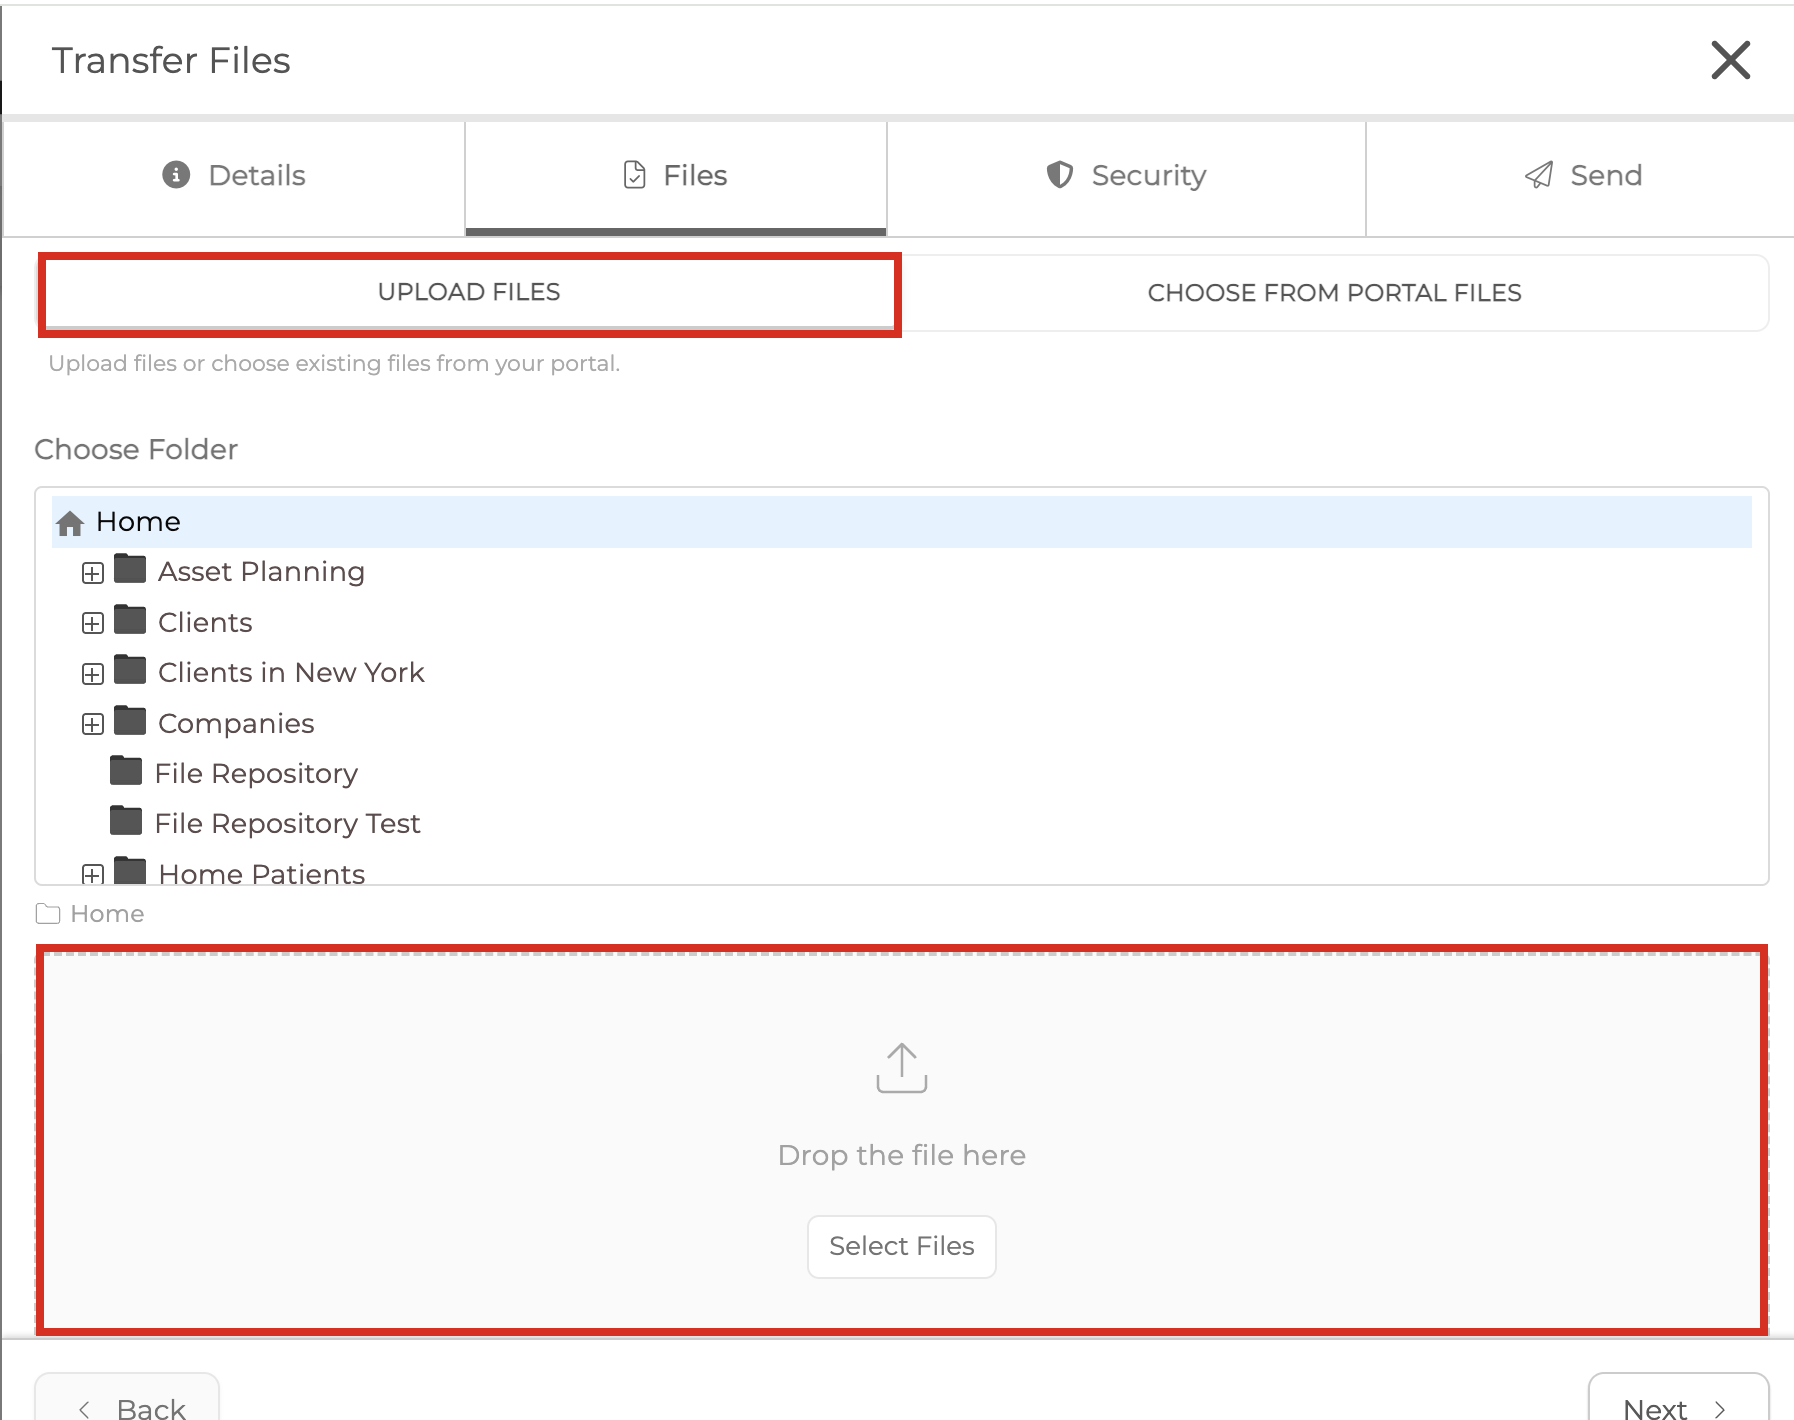
Before or between uploads, use the compact folder picker to choose where the uploaded files will be stored in your Portal. It defaults to your Home folder, and you can switch the destination between uploads within the same package.
Each file uploads in its own row with a real-time progress bar: blue while transferring, green when done, and red if something goes wrong. If a file fails, a clear inline message explains why (for example a quota, file-type, or network issue). A one-click remove aborts an in-progress upload or deselects a completed one.
TIP: Uploads use the same reliable chunked upload as the rest of your Portal, so large files transfer without timing out, and the same size, file-type, and quota rules apply as with any Portal upload.
What happens to files I upload this way?
Each finished upload is automatically added to the package's selected files, so there is no need to go back and re-select it. Uploaded and browsed files share one combined selection list, and you can remove any of them before sending.
Uploaded files are permanent Portal files. They are saved in the folder you chose and remain available afterward for future transfers and for normal file management, exactly like any other file in your Portal.