
Content Block: Header & Footer Stacks
What are Header and Footer Stacks?
Stacks come in three types: Content, Header, and Footer. Header and Footer Stacks are dedicated, reusable blocks you build once and drop onto any page, the same way you already use Content Stacks.
Every new Header and Footer Stack arrives pre-loaded with a starter layout, so you are never staring at a blank canvas. A Header opens as a Brand band: a brand mark tile, your organization name as the wordmark, a short Welcome line, and a Get in Touch button, with every color taken from your account's own Platform Branding rather than from a stock palette. It also carries a navigation row and an icon row, both empty and ready for you to fill. A Footer opens with copyright text and a horizontal navigation row.
The navigation row and the icon row start out empty, and the button starts out with its Click Action set to Navigate to Direct or Relative URL with no URL filled in. That is deliberate. A Header now works on public pages as well as signed-in ones, so SuiteDash does not seed a starting link that would send an anonymous visitor to a login screen. You point those wherever you want them.
What changed with Header and Footer Stacks?
Creating a Header Stack or a Footer Stack used to begin with one question: which single area of your Portal is this for? You answered it before you had designed anything, and the answer limited the Stack for the rest of its life. It decided which pages could show the Stack, which destinations its buttons and links could point to, and which personalization tags the editor would offer.
That question is gone. Every Header and Footer Stack now works everywhere. It can be placed on any page type your account builds, its buttons and links are offered the complete destination menu, and it is offered a far wider set of personalization tags. There is nothing to choose at the start and nothing to get wrong.
Content Stacks are not affected by any of this. They still belong to the area you create them in, and they behave exactly as they always have.
How do I create a Header or Footer Stack?
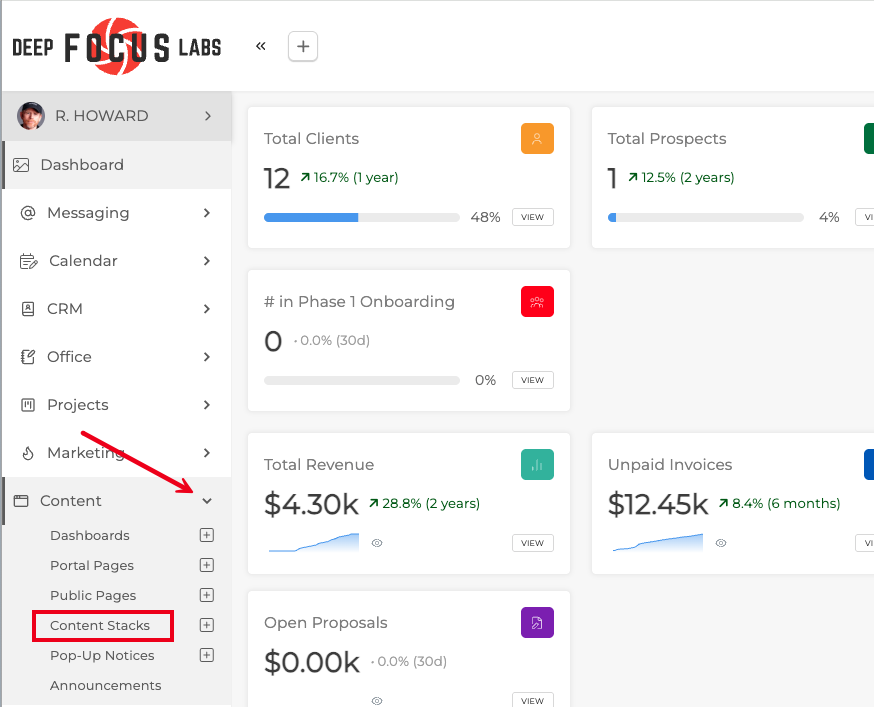
Open the Content toolkit from the left menu and select Content Stacks.
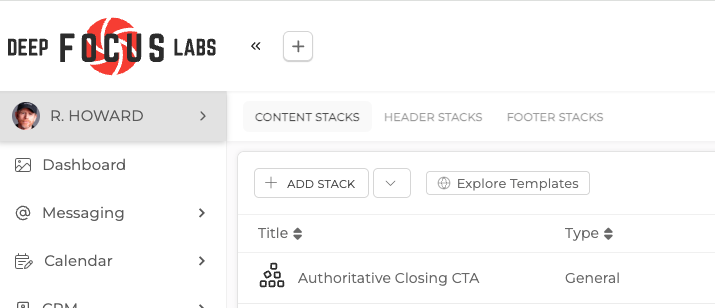
At the top of the page you will see three tabs, one for each Stack type: Content Stacks, Header Stacks, and Footer Stacks. Each tab is its own page with its own list, search, and sort.
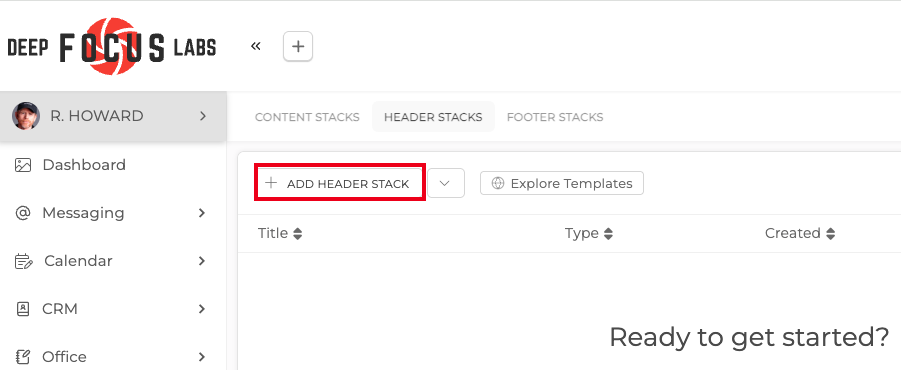
Click the Header Stacks or Footer Stacks tab, then click Add Header Stack or Add Footer Stack.
The editor opens straight away. Your new Stack is created already populated with its starter elements and you land directly on its edit page, with no type or area panel to work through first.

TIP: The familiar row actions you already use on Content Stacks, including edit, duplicate, delete, favorite, and preview, all work the same on the Header and Footer tabs.
Who can create and manage Header and Footer Stacks?
Anyone on your team who can build Stacks in at least one area can now see and manage every Header and Footer Stack in the account.
This is a change worth knowing about. A Header or Footer used to belong to a single area, so a staff member could only reach the ones sitting in an area they had permission for. Now that Headers and Footers belong to no area at all, the whole Header and Footer collection is shared by everyone who can build Stacks. Content Stacks are unaffected: they still belong to their area, and a staff member still only sees the ones in areas they have permission for.
How do I customize a Header or Footer Stack?
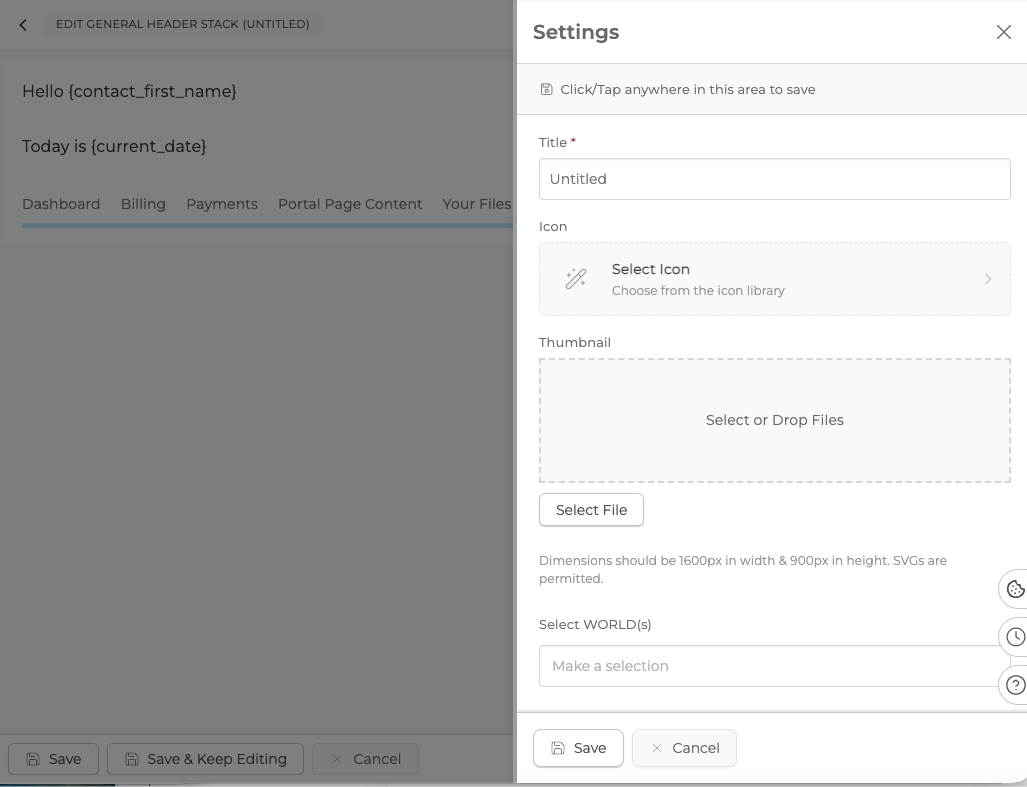
When you open a Header or Footer Stack you can add and save your Settings then start to customize the stack.
From the Stack Block, click the edit icon (pencil) to customize your Header or Footer.
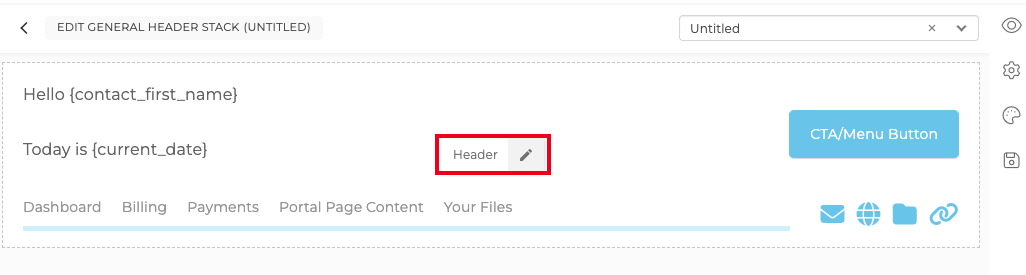
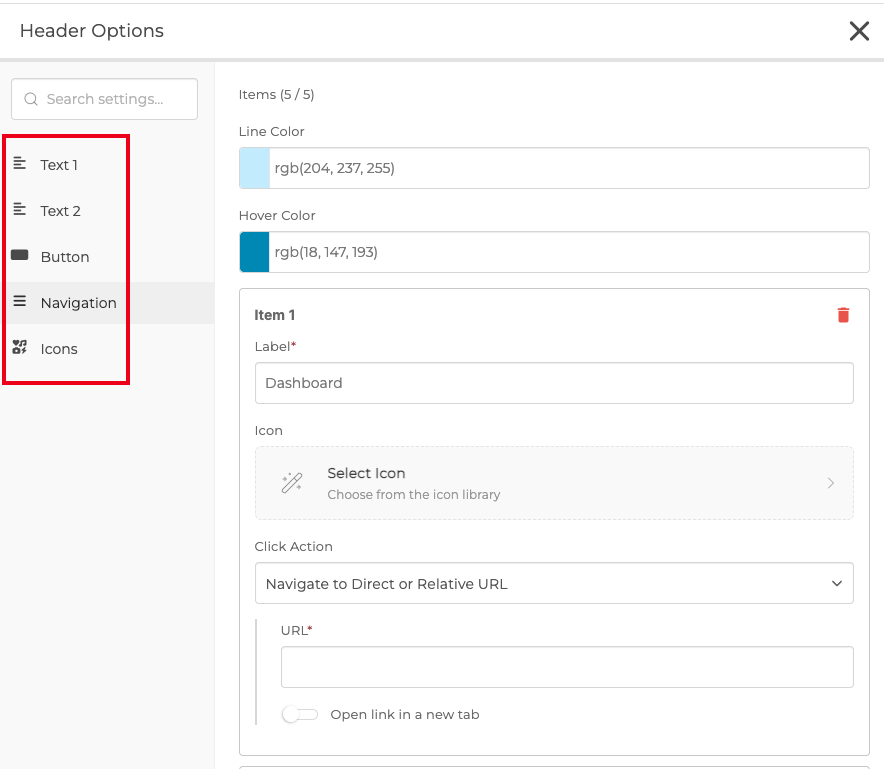
From the Stack edit page you get a multi-tab editor. The pre-built elements are listed on the left, and selecting one opens its full settings on the right, using the same editing controls you already know for that element type.
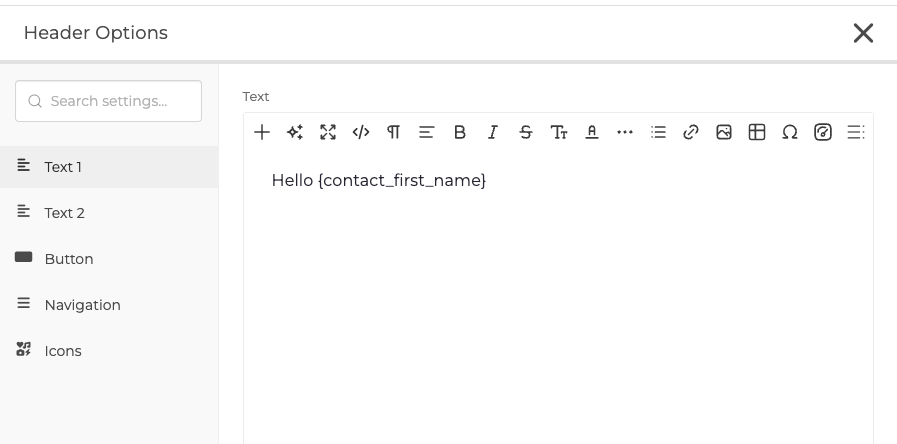
Work through each element to match your brand, for example updating navigation link labels and destinations, swapping icons, editing button text, and changing the text blocks.
Stack-level settings such as the title, styling, access, and custom CSS or JS live in the same places they do on a Content Stack.
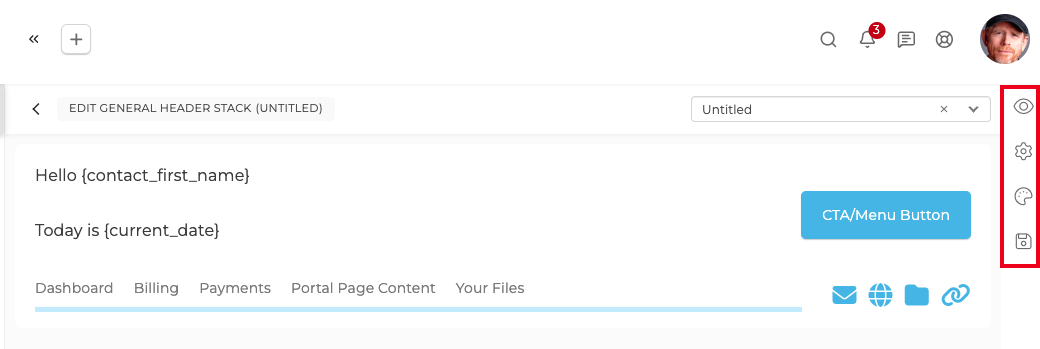
Click Save to write all of your changes at once, and any page using the Stack picks them up the next time it renders.
IMPORTANT: The set of elements in a Header or Footer Stack is fixed. You can fully customize the content of the starter elements, but adding, removing, or reordering elements is not yet available.
How does SuiteDash decide who sees each button or link?
Because a Header or Footer Stack now works everywhere, one Stack can be seen both by signed-in Clients and by anonymous visitors on a public page. SuiteDash sorts that out for you, element by element, from the destination you wired the element to. There is no audience setting to manage and nothing for you to classify.
- Everyone sees an element with no destination at all, and an element pointed at Navigate to Direct or Relative URL. A logo, plain text, or an unlinked navigation item is always for everyone.
- Signed-in viewers only see everything else. Inside a Header or Footer Stack, every other destination in the menu needs someone logged in, so an element wired to one is removed for an anonymous visitor rather than hidden. It never reaches their browser at all.
Navigation bars and icon rows are handled entry by entry: the individual links that need a login drop out and the rest of the row stays, and a row left with no entries stays in place rather than disappearing. Any other element, such as a button or a text block, is removed whole. Either way the layout holds its shape, so the elements around a removed one stay exactly where you put them.
Each element's Click Action is the whole of it. SuiteDash reads the audience from that one field and works it out fresh every time the page is shown, so nothing goes stale when you re-point a link later.
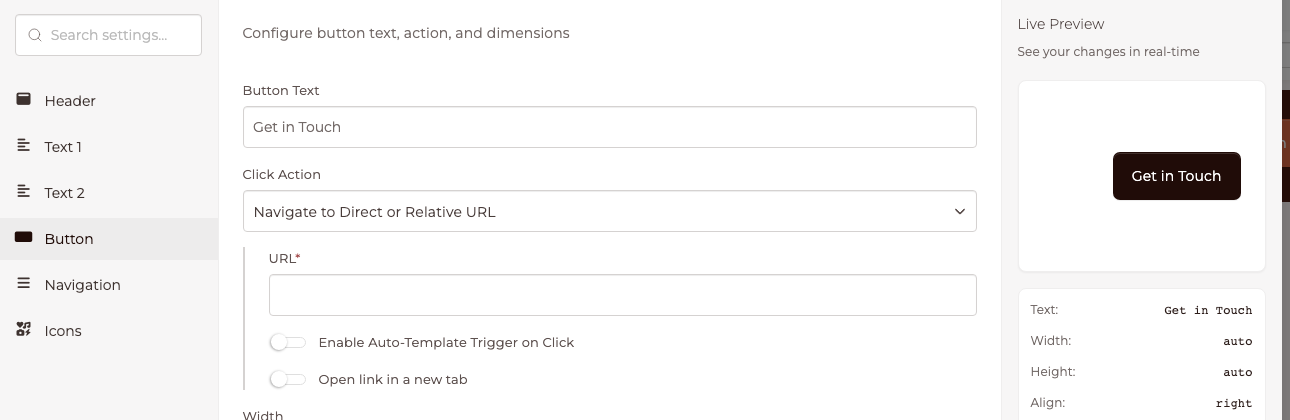
IMPORTANT: The rule is stricter than it first looks. Inside a Header or Footer Stack, destinations such as Navigate to Start Page, Navigate to Portal Page, Navigate to URL from Custom Field, and the Staff, Salesperson, and Coordinator Profile Page destinations all count as signed-in, even on a page an anonymous visitor can otherwise reach. If a button has to be visible to visitors who are not logged in, point it at Navigate to Direct or Relative URL.
Which personalization tags can I use in a Header or Footer Stack?
A Header or Footer Stack is offered the same personalization tags a Portal Page or a Dashboard is offered: Target, Contacts, Company Public, Company Private, Organization, Staff, Salesperson, Coordinator, and Date / Time. Before this change a Header or Footer only ever saw two of those groups, Organization and Date / Time, so this is a large step up.
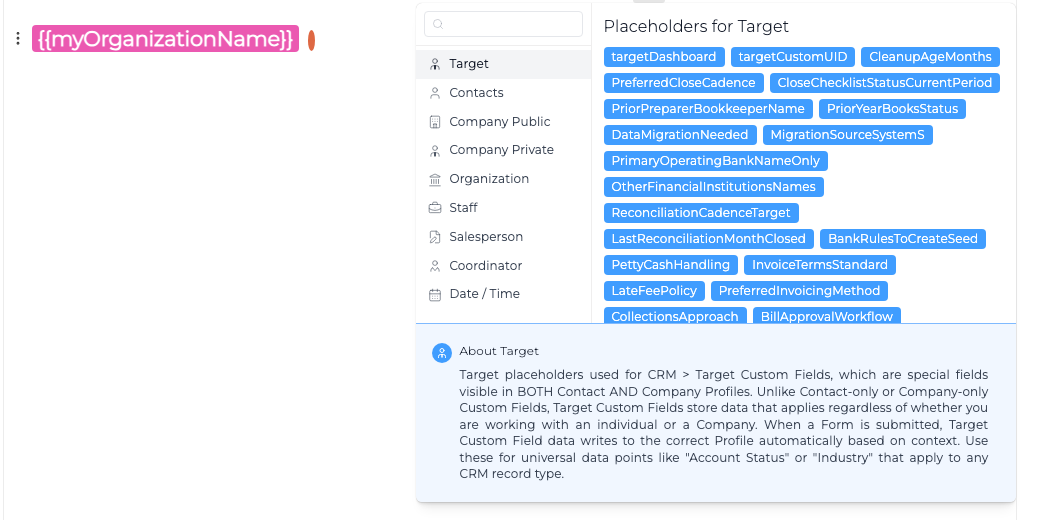
Document tags are deliberately left off the list. A Header travels onto any page, so it cannot assume there is a Document, a Proposal, or a Project underneath it, and the tags belonging to those records are not offered.
When you preview a Header or Footer Stack without choosing a person in the preview-as dropdown, SuiteDash borrows real sample data from your own account so the tags resolve into words instead of showing raw tokens: your organization, you as the signed-in user, and one Client Contact on file together with that Contact's Salesperson and Coordinator. Choose a person in the dropdown and you see that person's data instead. An account with no Client Contact yet has nobody to borrow from, so its person tags stay unresolved until one exists.

TIP: A tag that depends on knowing who is reading, a Contact's own name for example, makes the whole element signed-in content. It shows in full to a signed-in Client and is removed for an anonymous visitor, so a visitor never sees a half-filled greeting.
How do I add a Header or Footer to a page?
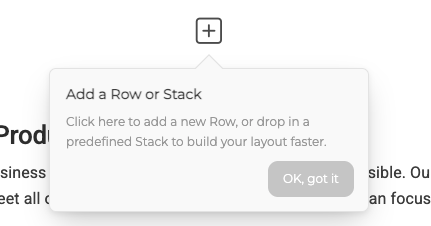
Placement uses the same flow you already use for Content Stacks. In the Page Builder, click the + icon to add a Row or Stack.
Then select Stacks.
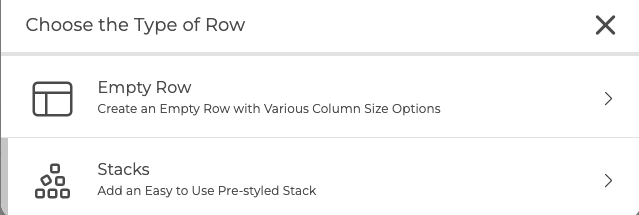
Now pick your Header or Footer from the Stack picker.
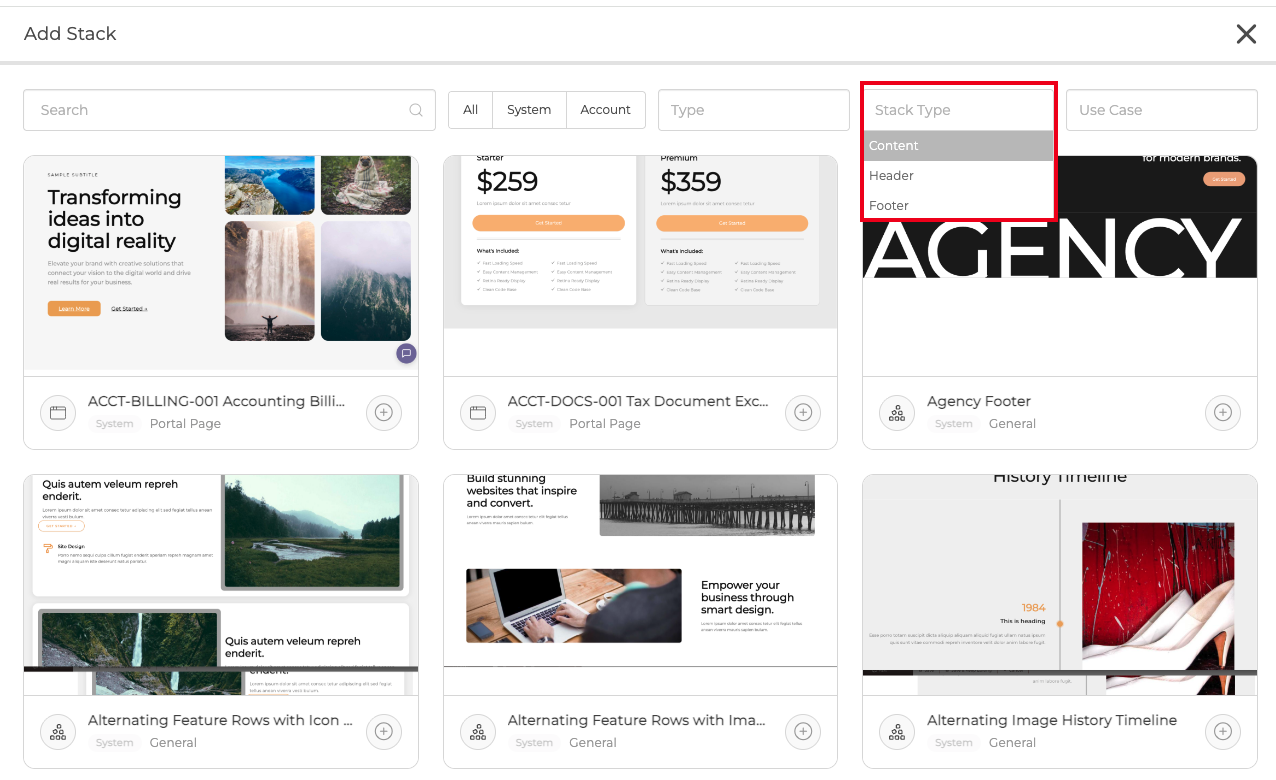
Each tile in the picker shows a type badge, CONTENT, HEADER, or FOOTER, and you can filter the picker by type. Every Header and Footer Stack in your account is offered on every page, because they no longer belong to an area. The Header or Footer is placed exactly where you click, just like a Content Stack. There is no automatic positioning, so you stay in control of the layout. Once placed, a Header or Footer block supports the same move, edit, swap, and delete actions as any other placed Stack.
TIP: Editing a placed Header or Footer from the page itself opens its stack-level settings and lets you swap it for a different Stack. To change the elements inside, open the Stack from the Content Stacks admin page.
Why can I only add one Header and one Footer per page?
Each page can hold at most one Header Stack and one Footer Stack, which keeps your layouts clean. Content Stacks have no such limit.
If a page already has a Header or a Footer, that type appears in the picker in a disabled Already on page state with a tooltip explaining what to do. Remove the placed Header or Footer and that type becomes addable again. Swapping one Header or Footer for another is not counted as a duplicate.
Where can I use Header and Footer Stacks?
Every Header and Footer Stack is one universal collection now. Page pickers offer all of them, the Header and Footer tabs no longer split the list by area or show an area column, and you can publish one to the Template Library or adopt one from the gallery without an area getting in the way.
Header and Footer Stacks are supported across the page editors that use the Page Builder:
- Portal pages
- Dashboards
- Public landing pages
- Public profiles
- Documents
- Proposals
- LMS lessons
- LMS landing pages
IMPORTANT: Email editors do not support Header and Footer Stacks, and Marketing Campaigns are built in an email editor. The picker in an email editor shows Content Stacks only, and Headers and Footers cannot be saved into an email. This has not changed, and it is the one boundary the "works everywhere" update deliberately leaves in place: a mail client loads no stylesheet and cannot resolve a Portal link, so a Header there would be broken for every recipient.
CLICK HERE to learn more about building with Content Stacks.