
MARKETING: Email Sending Settings
How do I configure my Email Sending Settings?
In order to send Campaigns or Drip Sequences from within the Marketing menu, you will first need to configure your Send Email Settings.
CLICK HERE to learn more about Email Marketing
To get started, navigate to Marketing > Settings.

You can select from three different types of Email Sending Methods through the dropdown menu, depending on your needs.
SMTP
Short for "Simple Mail Transfer Protocol", SMTP is the primary universal protocol for relaying emails to an email server where they are queued for sending.

By selecting SMTP, you can input credentials from a 3rd party email sending service (such as MailGun, SendGrid, Amazon SES, etc.). You can use this option if you already have an account with a separate SMTP provider and want to use those same credentials to send your platform Marketing emails.
Here are two common providers and instructions that help identify your correct SMTP settings:
GMAIL: https://www.androidauthority.com/gmail-smtp-settings-801100/
Here is an excellent tool for testing your SMTP settings: https://www.smtper.net/. After you are able to send a successful test in SMTPer tool, then just copy/paste those credentials into the platform.
Need a really cheap and easy way to set up an SMTP sending account? Already have an Amazon account? Click here for instructions on how to set up Amazon SES and get SMTP sending setup.
SendGrid
If you have a SendGrid account you can link it to your platform account by inputting the API Key and the From Email address.

Dedicated IP
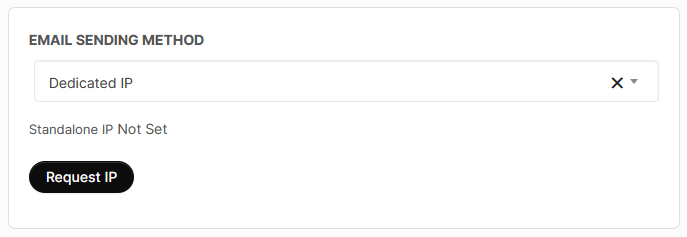
IMPORTANT: If you choose the "IP" option for email sending, a $20/month fee will be automatically added to your existing account subscription. Included in this will be a dedicated IP address for sending your emails with a standard allowance of 10,000 email sends per month. If the 10k/month threshold is reached, you will be billed an additional $15.00 for every 10,000 emails sent that month beyond the initial allowance. This initial $20/month fee will not be added until your IP request is approved and it can be canceled at any time automatically by removing your IP from your Email Sending settings.
How do I ensure authentication and deliverability of my emails?
To best ensure that your emails are authenticated and delivered, you will need to create a new SPF record or update your existing SPF record on your domain:
- if you have no SPF record on your domain, simply publish the following SPF record on it:
v=spf1 include:portalmailbox.com -all
- if you already have an SPF record, simply insert include:portalmailbox.com right before the terminating mechanism in that record.
For example, if your current SPF record looks like this:
v=spf1 a -all
update it to:
v=spf1 a include:portalmailbox.com -all
Gmail / Google Workspace
Setting up Gmail / Google Workspace will enable the platform to send outgoing notification emails via your Gmail account.
Click Sign in with Google to connect your Gmail / Google Workspace account.

Choose the account to connect.

Once your Google Account is chosen click to select what My Portal App can access.

Then choose Currently active for Transactional Emails and/or Activate for Marketing Emails.

Microsoft
Setting up Microsoft will enable the platform to send outgoing notification emails via your Microsoft account.
Click Connect Microsoft Account to get started.
 Sign in with the account you would like to connect.

Then choose Activate for Transactional Emails and/or Activate for Marketing Emails. You will need to check the boxes and click OK on the notice that pops up.

Lastly, you will select Currently Active for Transactional Emails.

Marketing Company Address
You can provide a physical mailing address that will be included in the email footer of each marketing email.

IMPORTANT: Depending on your business's location, this may be required for international spam laws.
My Emails are failing to send!
In order to use the Marketing Email functionality, you will first need to configure your Domain Settings.
CLICK HERE to learn how to verify your Domain
Once this is done, you will need to use the same email that you set during this step.
Navigate to Flyout Menu > Email Branding.

The email that you specify under From Email is what you will need.
 Back in Marketing > Settings, ensure that the email addresses are identical.
