
BLOCKS: My Invoice Block
My Invoices Block
The My Invoices Block enables you to display invoices directly on a Dashboard or Portal Page for the person viewing the page. It can be configured for both Client and Staff use, giving each user a tailored view of their invoices with sorting, filtering, and payment options all accessible without leaving the page.
IMPORTANT: The My Invoices Block is only available on a Dashboard or Portal Page. It cannot be added to a Public Page.
What This Block Is Used For
Use this block to give Clients or Staff a clear and accessible view of invoices relevant to them, directly within the portal experience. It removes the need for users to navigate to a separate invoices area and keeps billing information front and centre.
- Display a Client's invoices in a clean list on their dashboard.
- Allow Clients to click through to view a full invoice or make a payment directly from the block.
- Give Staff members with invoice permissions a view of all invoices.
- Allow Staff to record payments against invoices directly from the block without navigating away.
- Provide quick access to the full invoice list via a View All Invoices button within the block.
What Users Will See
The experience differs slightly depending on whether the viewer is a Client or a Staff member with invoice permissions.
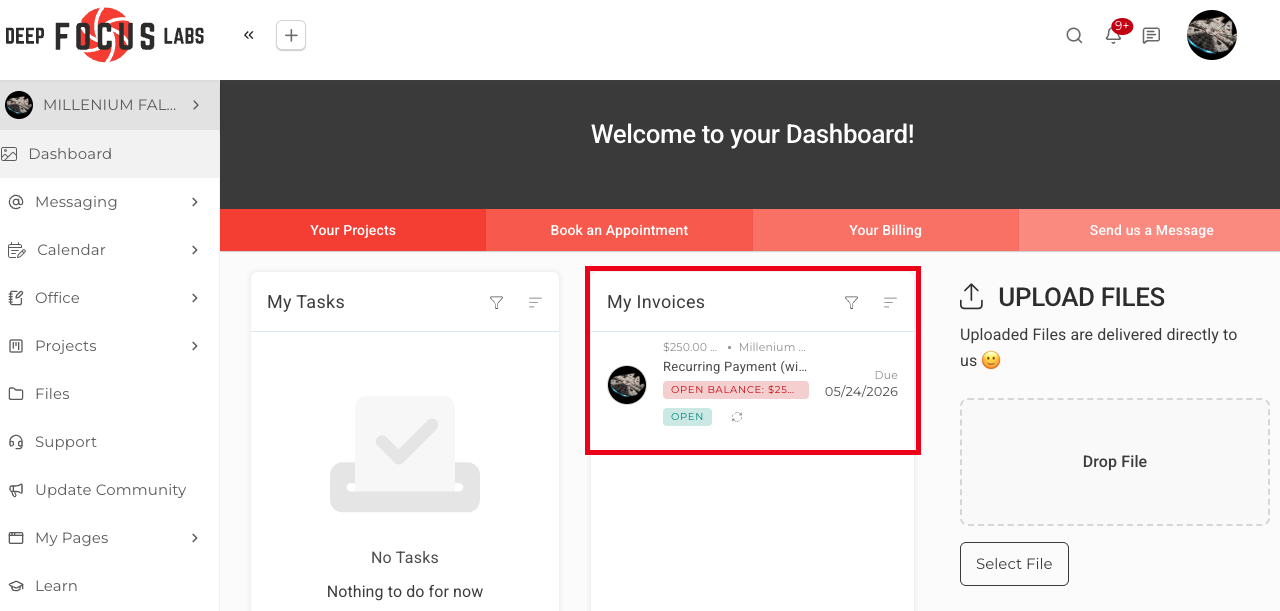
- Clients will see a list of their own invoices with the data fields you have enabled, and can click an invoice to view it in full or click the View All Invoices button to see their complete invoice list.
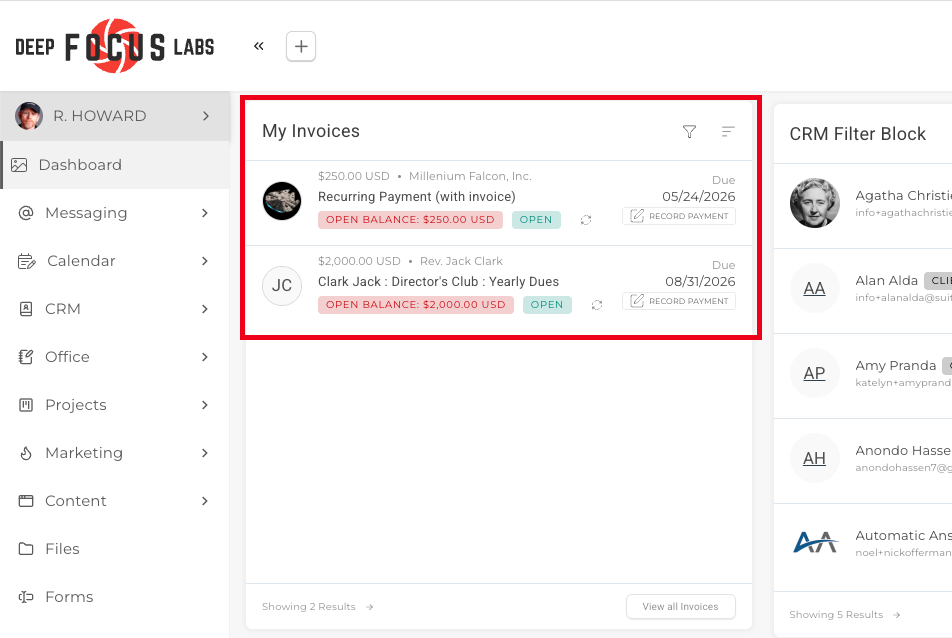
- Staff members with invoice permissions will see invoices across their accounts including open, and closed invoices, and will have the option to record a payment method directly from the block.
- Both Clients and Staff can use the sort and filter icons within the block to customise their view at any time.

How to Add This Block
1. Open the Content Block Editor on the Dashboard or Portal Page you wish to edit.
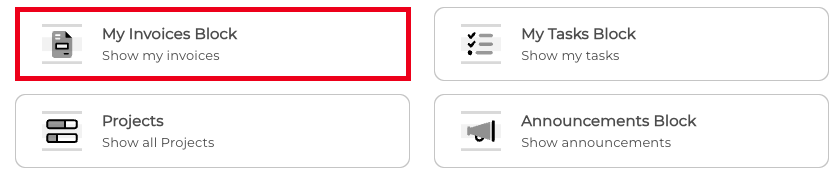
2. Click the Add Block (+) button to open the block selection menu.

3. Select My Invoices Block from the list.
Once added, the block will appear in your layout and is ready to be configured.
How to Configure the Block
After adding the block you can add your settings, or alternatively, you can click the pencil (edit) icon at anytime in the block toolbar to open the block options. This will open the General Options tab.
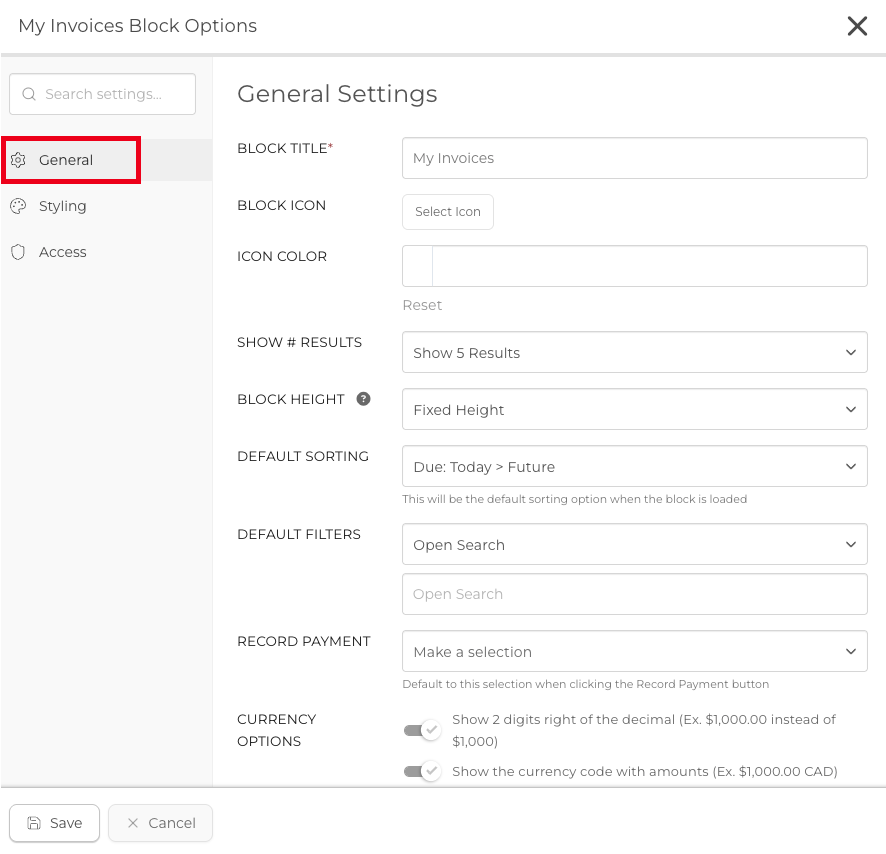
Block Title: Give the block a unique title. This title will appear as a header on the Target's side and helps users identify the purpose of the block at a glance.
Block Icon: Give you block a unique icon.
Block Icon Color: Choose a color or add a HEX code in the box.
Show Number of Results: Set the number of invoices to display in the block at one time. You can choose to show 5, 10, 15, or 20 results.
Block Height: Choose how the block height is handled:
- Fixed Height — The block displays at a standard fixed size regardless of the number of results shown.
- Auto Height — The block will resize automatically to fit the number of results you have selected.
- Custom Height — Enter a specific pixel height for the block.
Default Sorting: Set the default sort order for invoices when the block first loads. Users can change the sort order at any time by clicking the sort icon within the block. Available options include Due: Past > Future, Due: Future > Past, Due: Today > Past, Status (OPen - Overpaid), Status (Overpaid - Open), Target Name (A to Z), and Target Name (Z to A).
Default Filters: Set the default filter applied when the block loads. Users can change the filter at any time by clicking the filter icon within the block. Available options include Open Search, Due Date, Statuses, and Client.
Record Payment: Select the default payment method option that appears when a Staff member clicks the Record Payment button on an invoice within the block.
Currency Options: Configure how currency amounts are displayed within the block:
- Show 2 digits to the right of the decimal point, for example $1,000.00 instead of $1,000.
- Show the currency code alongside amounts, for example $1,000.00 CAD.
Data Options: Toggle the data fields you want the Target to see for each invoice within the block. Available options include the Target's Avatar, Grand Total of Invoice, Target Name, Invoice Status, Remaining Balance, and Payment Type.
TIP: Staff members with invoice permissions can see invoices within this block and can record payments directly from the block without navigating away from the dashboard. Clients will only see their own invoices and can click through to view or pay them.
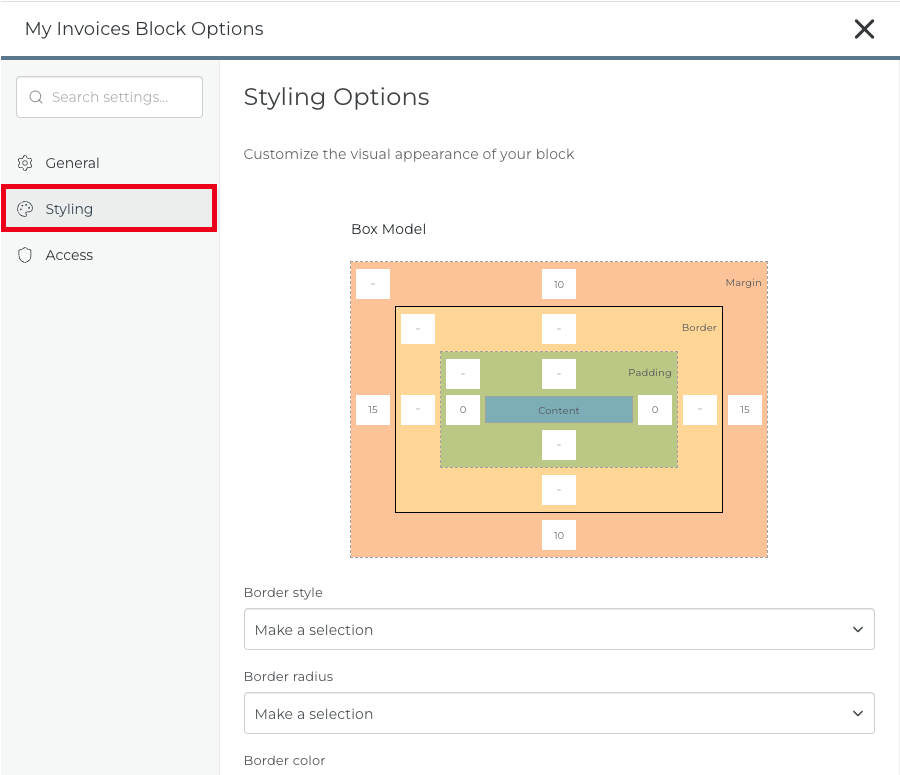
Styling
The Styling tab will enable you Customize the visual appearance of your block.
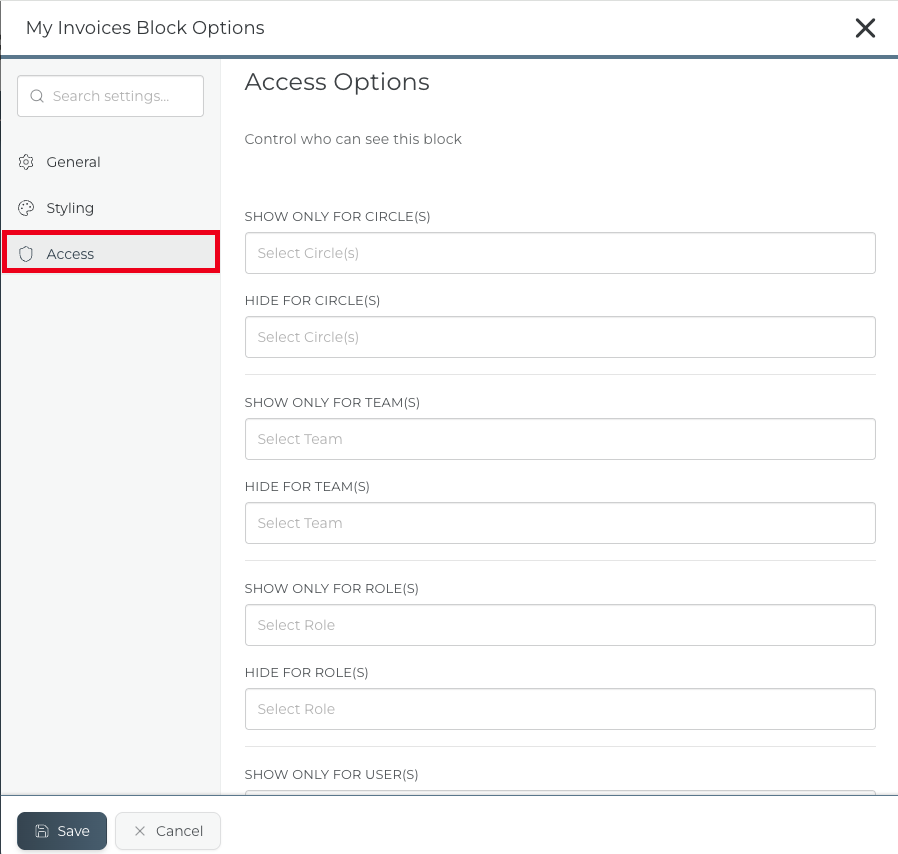
Access
You can enable all targets with access to the page to view the Invoice Block. Alternatively, you can use the Access sub-menu to customize visibility, allowing only specific targets to see the Block.
Best Practices
A well-configured My Invoices Block keeps billing visible and accessible, reducing the need for Clients or Staff to reach out for invoice information.
- Set the Default Sorting to Due Date Ascending so the most urgent invoices appear at the top of the list for Clients.
- Use the Default Filters to pre-filter the block to show only Open invoices by default, keeping the view focused on what requires attention.
- Enable the Remaining Balance and Invoice Status Data Options so Clients can immediately see what is outstanding without opening each invoice individually.
- Use the Access Options tab to ensure the block is only visible to the appropriate roles, particularly when configuring it for Staff use.
- Choose Auto Height for the block height if you want the block to scale neatly with the number of invoices shown.
TIP: Place the My Invoices Block prominently on your Client dashboard so Clients can always see their invoice status and outstanding balances as soon as they log in. Keeping billing information visible reduces late payments and support queries.
RELATED ARTICLES
CLICK HERE to learn about the Content Block Editor.
CLICK HERE to learn about all Block Editor Block Types.
CLICK HERE to learn about Invoices.