
MARKETING: Drip Sequences
What is a Drip Sequence?
Drip Sequences are messages automatically sent to a Contact after they subscribe to your Audience. You can create several emails to go out in a cycle, one after the other.
Drip Sequences help you automate campaigns and manage one-to-one communication with your recipients. They can be sent in a sequence or at intervals, starting from the day a Contact is added to your Audience, e.g. Day 0 (the day a contact subscribes), then day 3, 7, 14. So, Drip Sequences are useful if you want to send an automatic message to contacts who join your Audience. When you set up a Drip Sequence cycle messages will go out on a specific day of a Contact’s subscription period according to how you set up the cycle.
CLICK HERE to learn more about Email Marketing
How do I create a Drip Sequence?
Navigate to Marketing > Audiences and click the title of the Audience you would like to create a Drip Sequence for.
CLICK HERE to learn about Marketing Audiences

From the Audience Details page, click on the Drip Sequence Tab in the top navigation bar.

Now just click the + Drip button.

Let's set up an Email Drip first.

Email Drip
You will create your Drip Sequence message just like you would with a standard Campaign email, but in addition, you will indicate the Schedule & Send From Details.

Send After is the interval of time after the day/time the Subscriber was added to the Email Marketing Audience. Enter your desired number and select minutes, hour(s), day(s), week(s) or month(s).
Then, enter the Name, Subject, From Name, and From Email.
Choose Next when finished.
Now, choose your editing experience, either the Content Block Editor, WYSIWYG (What You See Is What You Get) or Code Editor (for those who like HTML & CSS).
 To start with, add your Drip Settings.
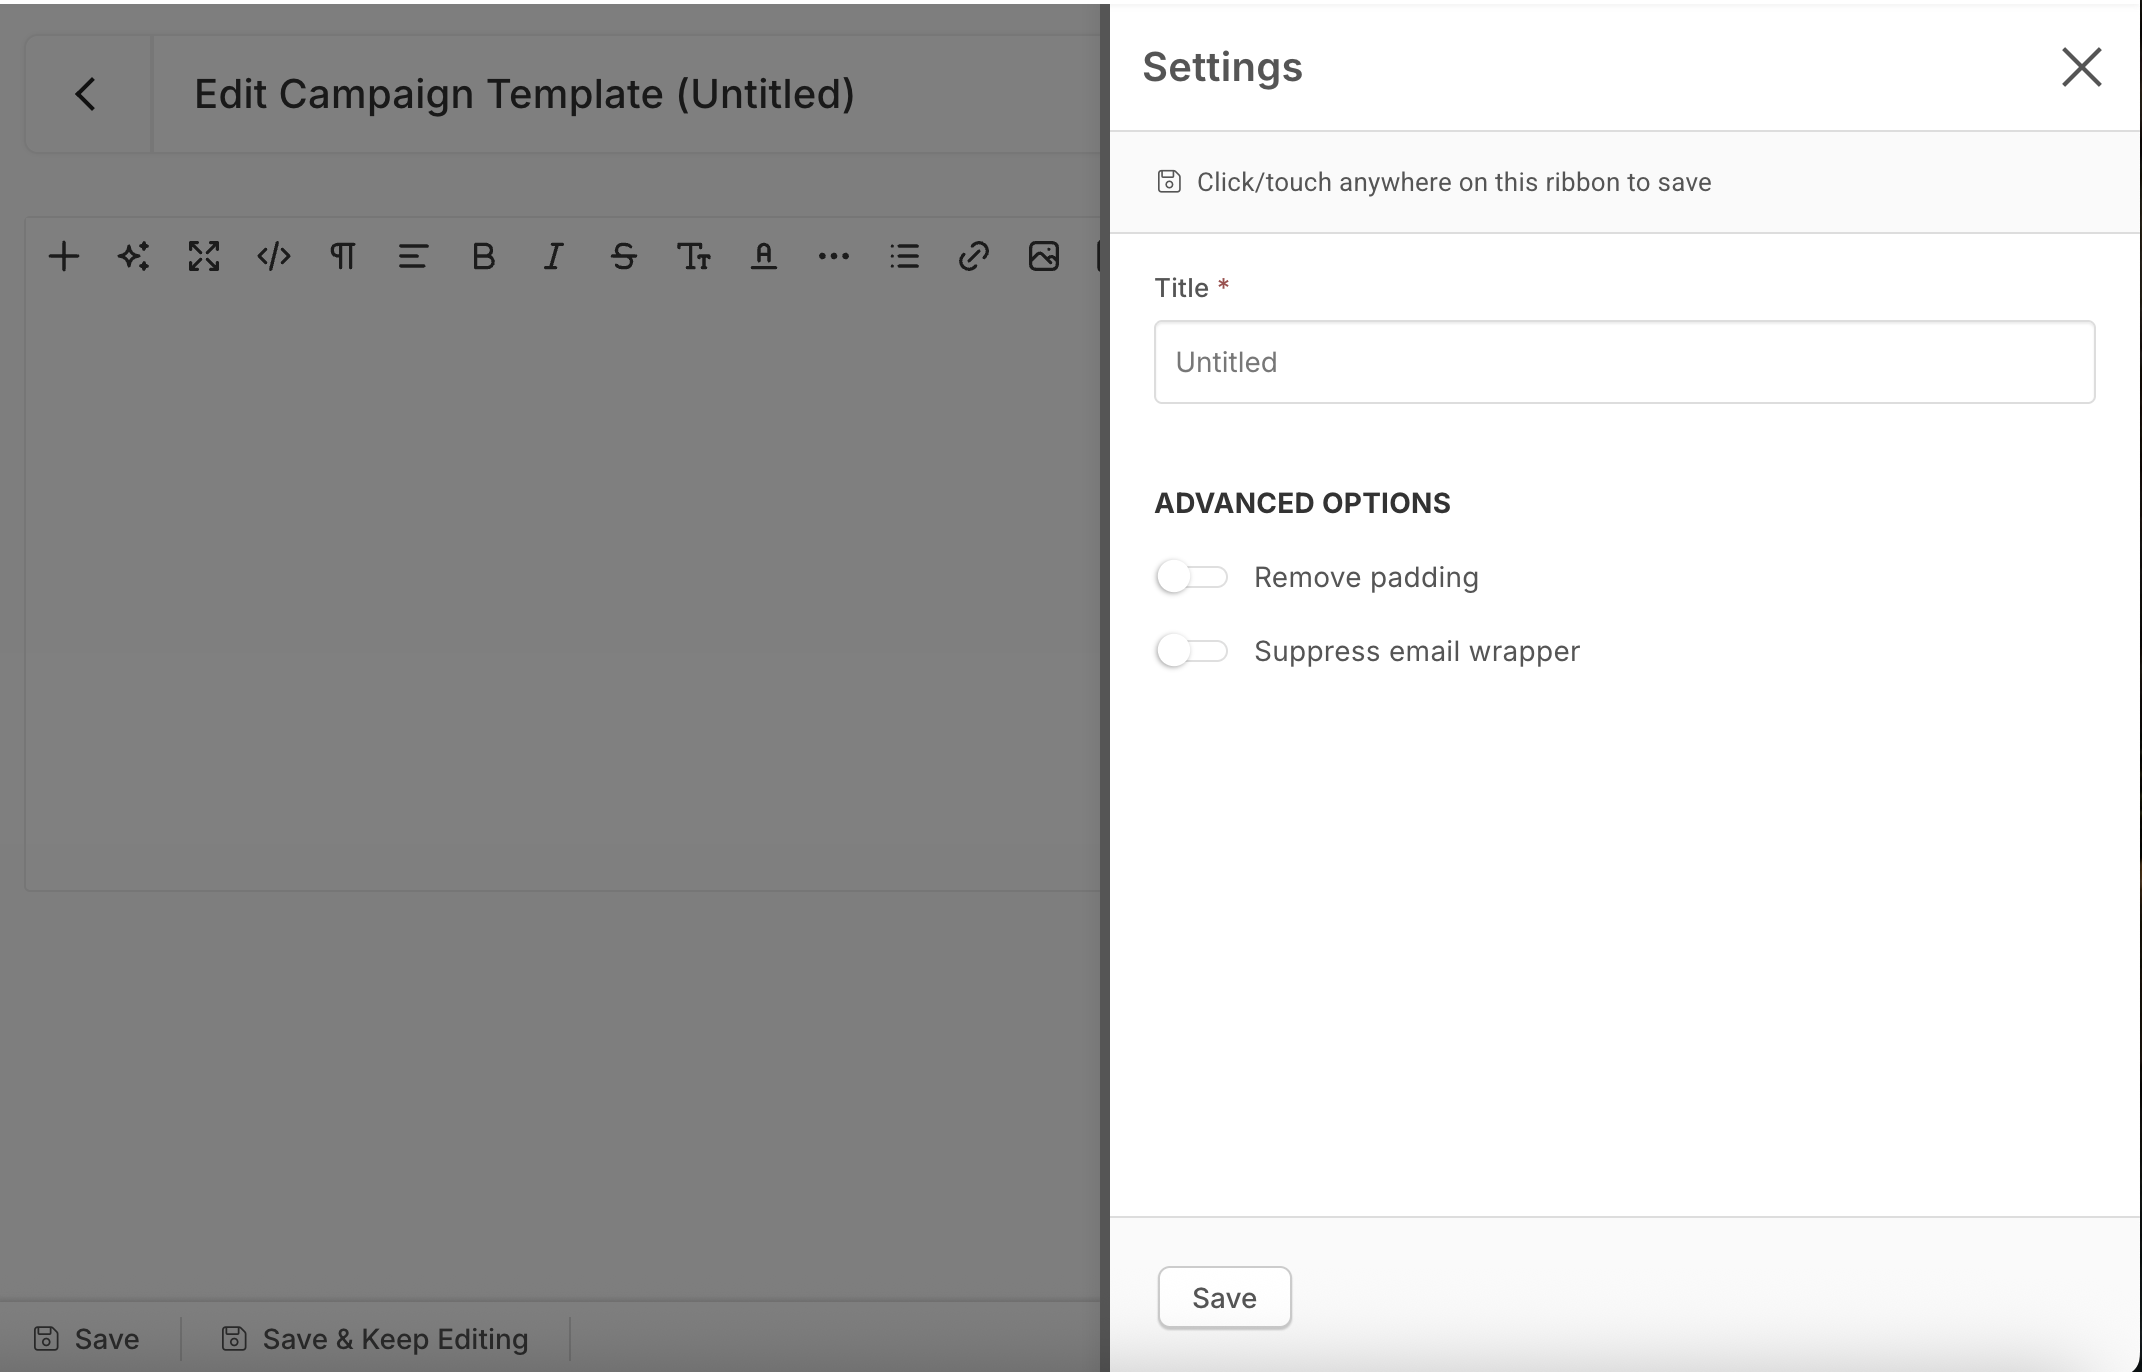
Title: This is the title of the Email Drip for your reference.
Advanced Options: You can check the boxes under Advanced Options to remove the padding or suppress the email wrapper for further customization.
Template Content
Both the Content Block Editor and the WYSIWYG Editors can have Dynamic Data Placeholders (DDPs) that you can insert to automatically generate information specific to the reader of the Email.
CLICK HERE to learn about DDPs
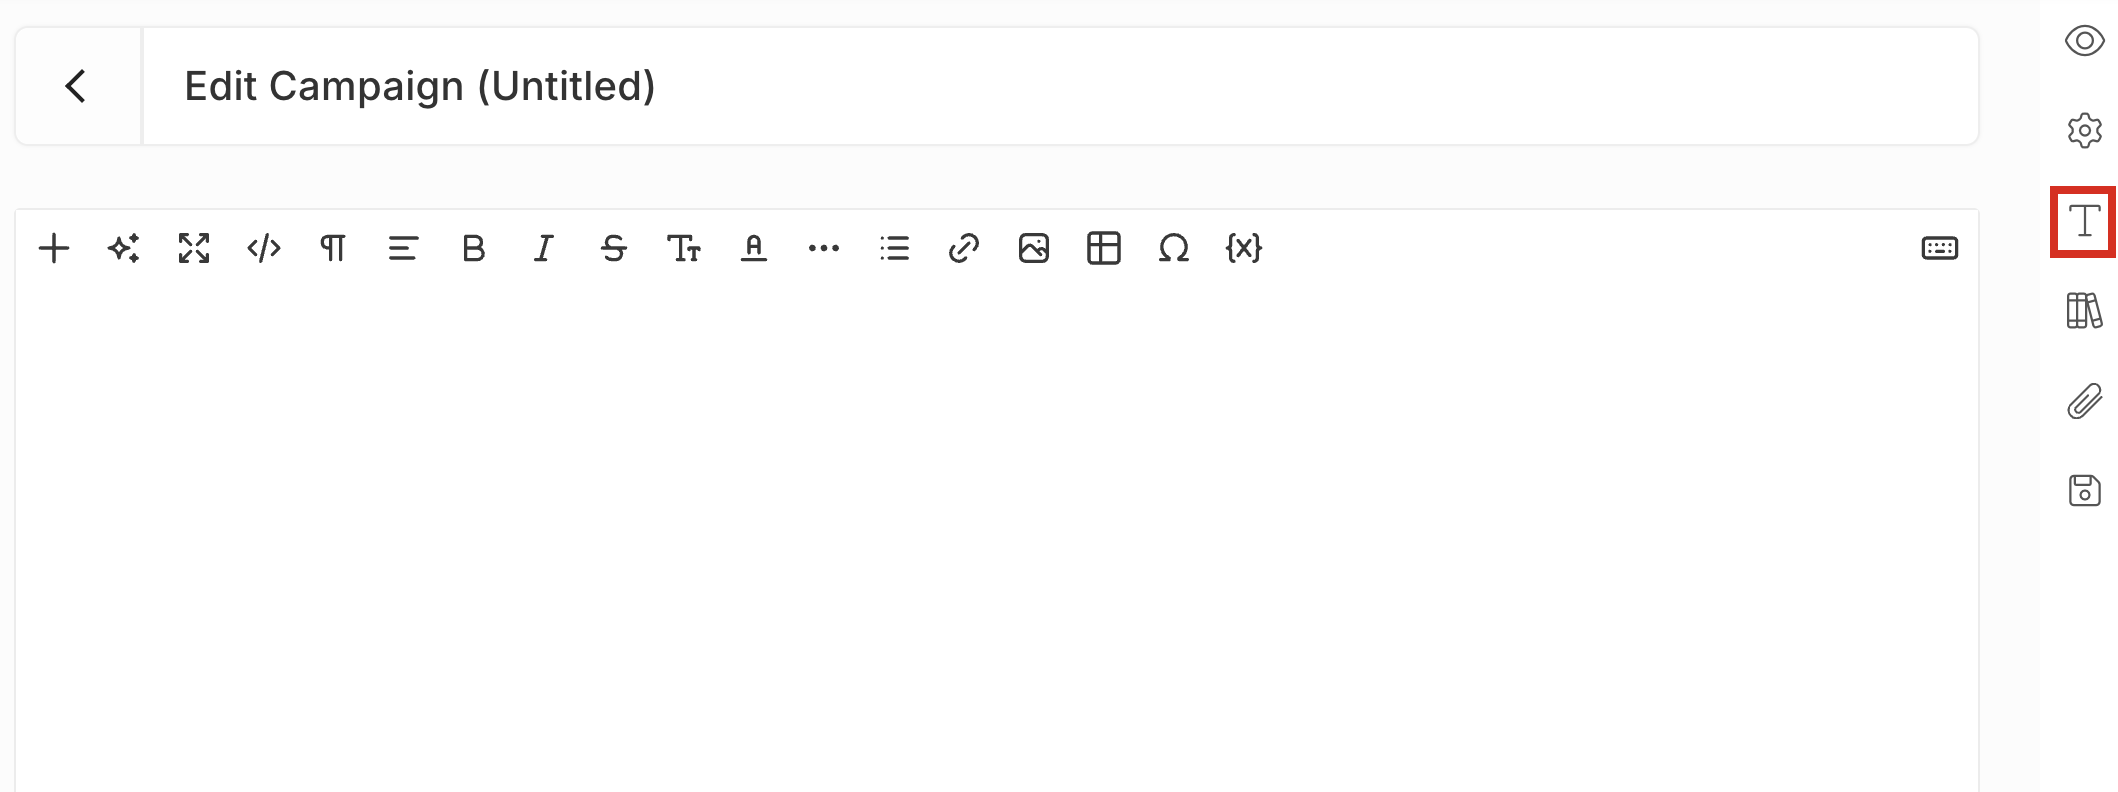
Next, compose your Message. You can click the Advanced Options button to reveal the Remove padding and Suppress email wrapper options. You can add a File Attachment by dragging and dropping or you can click Select Files.

In addition, you can click the above below icon to add your preferred Font Options.
CLICK HERE to learn about Google Fonts.
Once you have created your email, click Preview to see what your Message looks like. Choose the device (Desktop, Tablet, Phone) to view exactly how your audience will see it.

Click Save when you're ready.
Automation Drip
 Go back to + Add Drip and this time select Automation Drip.

Select when you want to trigger this Automation Drip by clicking ' Trigger After' or 'Trigger Before' and add your interval time in relation to the Based-On Date set for the Audience.
Give the Automation Drip a name then click Configure Automations.
 Select the + to add your first Automation. Once you have added all desired Automations click Save before exiting out of the Configure Automations box.
Next, click Create. Your Automation Drip is now ready to go!
Keep in mind that Automations will only be applied to Known Prospects/Clients within the portal. Subscribers added by email who are not Known Users will not have the Automations applied.
*Automation Drip is only available to Pinnacle Accounts
How do I create a Reverse Drip Sequence?
You'll start out by creating a new Audience. Go to Marketing > Audiences > + ADD NEW AUDIENCE.
 Give your Audience a name then select your Based-On Date. We'll start by selecting Based on a Specific Date. This is the date that all other Reverse Drip Sequences sent to this Audience will be based around. Enter the date, time, and select your timezone then click Create.
 You can now select this Audience from the list and click Drip Sequence.
 Click + DRIP.
 You'll see you have two options: Send After and Send Before. Send After is a typical Drip Sequence so we're selecting Send Before to continue setting up our Reverse Drip Sequence.
 Set the Send Before day/time using the dropdown then give your Drip Sequence a Name and Subject line and Select your editing experience. You're now ready to fill in your Email Content.
You can click the Advanced Options button to reveal the Remove padding and Suppress email wrapper options. You can add a File Attachment by dragging and dropping or you can click Select Files.
 Click Save and your new Reverse Drip Sequence will appear in the list.
 Now let's create another Reverse Drip Sequence using a different Based-On Date.
Add your Audience the same way we did earlier, only this time select from the dropdown Based on the value of Date Custom Field. A dropdown will appear where you can select the Custom Field you will use. When we set up our Reverse Drip Sequence it will now be based on whatever date has been inputted into that specific Custom Field.
 After you click Create you can select this Audience from the list and go to Drip Sequence in the top navigation bar. Click + Drip.
 You can now select the interval that you would like this send out in relation to the Date in the Custom Field. The rest of this Reverse Drip Sequence will follow the same instructions as before.
IMPORTANT: When creating an Audience, if you select Based on Day added to Audience you will NOT be able to create a Reverse Drip Sequence. You will only have the option to Send After. If you would like to change this you will need to edit the Audience to Based on value of Date Custom Field or Based on a Specific Date.
What is a Drip Sequence Template?
A Drip Sequence Template is a pre-formatted email that you can use as a starting point to create Drip Sequences. It allows you to create the base framework of the Email so that you don't need to keep creating the same one over and over again.
How do I create a Drip Sequence Template?
Navigate to Marketing > Templates and click the + Add Template. Then select your Template Type: Drip Sequence Template.

Choose which Editor you would like to work in. Choosing the WYSIWYG Editor will allow you to switch to HTML at any time.

Choose a Title for your Template. This is only for your reference, it will not be visible when applied to a Drip Sequence.
 You can select a previously-created Drip Sequence Template from the Select Template dropdown menu or start from scratch.
Both Editors can have Dynamic Data Placeholders (DDPs) that you can insert to automatically generate information specific to the reader of the Email.
CLICK HERE to learn about DDPs
You can click the Preview button to see what the Email will look like when received. Click the desktop computer, tablet, or mobile phone icons at the top to see how it will appear for each device.
 Once you are done click Save.
What happens next?
Now when you create a Drip Sequence your Template will be selectable from a dropdown menu (it will appear exactly as it does while creating a Drip Sequence Template). Apply the Template and tweak the Email however you like!