
Support Tickets: Overview
What are Support Tickets?
The Support Tickets toolkit gives you the power to efficiently manage and track customer inquiries, ensuring that questions and/or issues submitted by your clients/customers are efficiently addressed and effectively resolved. These inquiries are managed within the Portal by your assigned Staff and can be managed by your Contacts via the Portal & Email or by Email only depending on your preference.
General Settings

First thing's first - you'll need to configure your General Settings in order to receive new Support Tickets via Email, as well as replies to existing tickets via Email. You will also want to configure the defaults for replies and auto-replies.
CLICK HERE to learn more about General Settings
Permissions Settings
You'll need to configure your settings with which Staff Members will be replying to your Contacts. You have the ability to fine tune who has Viewing, Replying, and Assigning abilities down to the individual Staff User.
CLICK HERE to learn more about Permissions Settings
Inboxes
Inboxes in Support Tickets allow you to easily organize your incoming support inquiries. This is entirely customizable to you and your business so you have the ability to create what Inboxes are best for your workflow.
CLICK HERE to learn more about Inboxes
Priorities
Priorities in Support Tickets enable you add a Priority to your tickets. The Priority is visible when looking at the ticket from the inbox or when ticket is open.
CLICK HERE to learn more about Tags
Statuses
Default Statues are available for your Support Tickets however you can also customize the Statuses and add additional Statuses to the list of options.
CLICK HERE to learn more about Statuses
Tags
Tags in Support Tickets enables you to Group tickets by type or create a quick reference for internal users. In addition, you can search for a Tag name to show all Support Tickets with the same tag.
CLICK HERE to learn more about Tags
Support Ticket Form
In Forms, you will see the option to create a Support Ticket Form and add Support Ticket Custom Fields. The form enables you to collate the relevant information via the Custom Fields, required in order to process the inquiry.
CLICK HERE to learn more about Support Ticket Forms
How to submit a Support Ticket
Support tickets can be created in the Portal, externally via the Form (Embed and Link) or via email. Any emails sent to your dedicated Support Mailbox address will come through as a Support Ticket.
Submissions via Support
Contacts can submit a ticket via the Portal by going to the Support Menu item

Once the Support Page opens, the Contact can click the + symbol to open up the Support Ticket Form.


The Contact can provide all the necessary information on the form and even attach Files.
What do staff see?
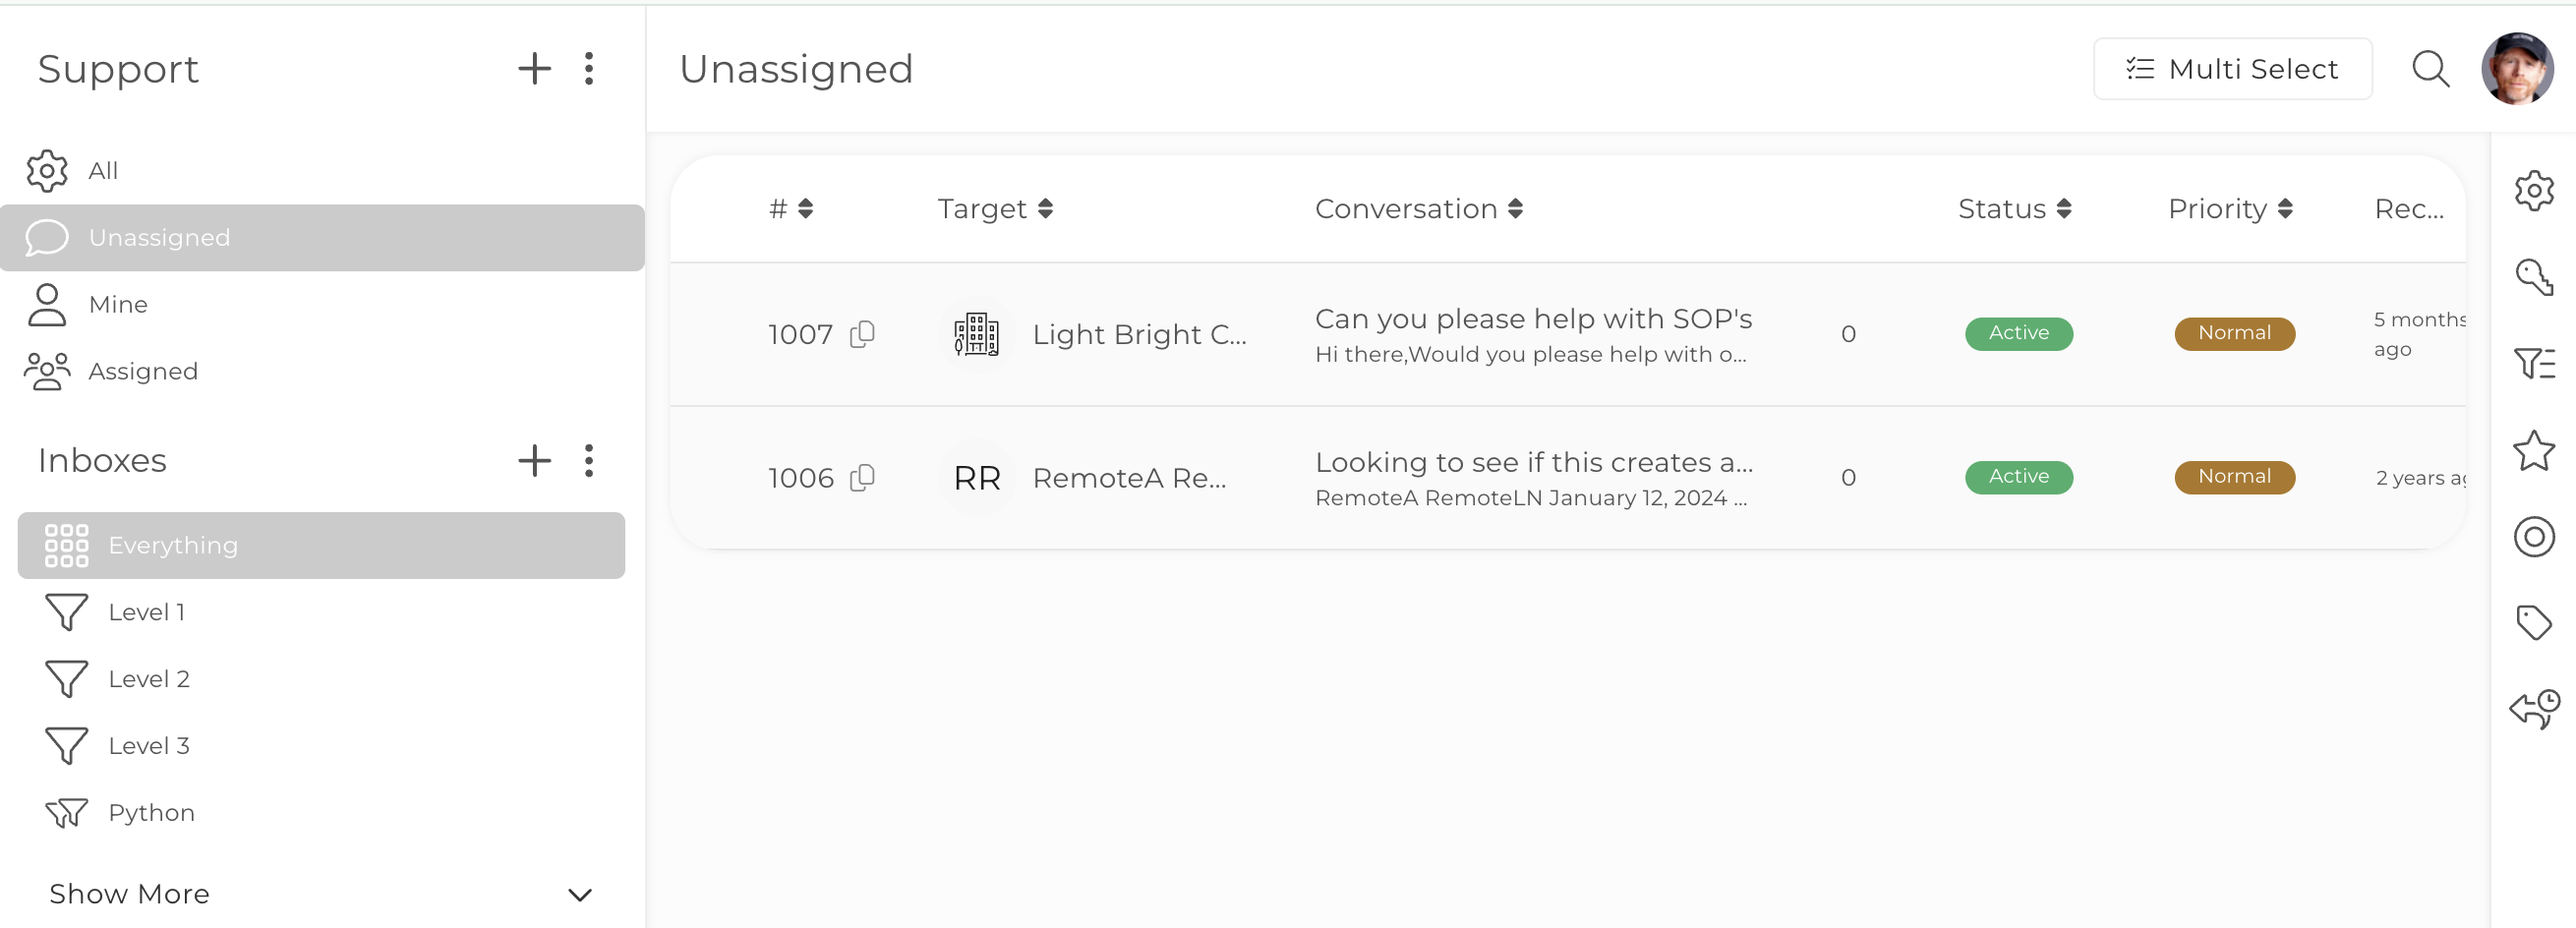
Once the form is submitted you will receive an email and the ticket will be added to the Unassigned Support Inbox.
 From here, staff with access to the Support Inbox can open a ticket, and reassign or assign to themselves for actioning.

Then you open a ticket, you can use the top menu to process the ticket. Click the arrow icon to reply to the conversation.

Click the paper icon to add a note

When you opt to create a note, you will also have the option to save the note in the Targets CRM Profile.

Click the support icon to assign the ticket

Click the Circle icon to add the ticket status from the dropdown options.

Click the Star Icon to add the ticket priority.

Click the Tag icon to add your tag/tags.

Click the filter icon to add the ticket to another inbox.

Click the Bin icon to delete the ticket.

Clicking the Person icon on the right side will open up the details of the Contact.

Clicking the paperclip icon will show you any ticket attachments.
 As you reply or add a note etc, the assignee and status will be displayed below the message. You can change these options prior to adding the note or sending the reply.
Staff Created Support Tickets
Staff members can also create a Support Ticket on a Contact's behalf by clicking the + icon.

TIP:The Create Support Ticket icon will only be visible if a Support Ticket Form has been created for staff to use.
CLICK HERE to learn about Support Forms.