
Notification Center
What is the Notifications Panel?
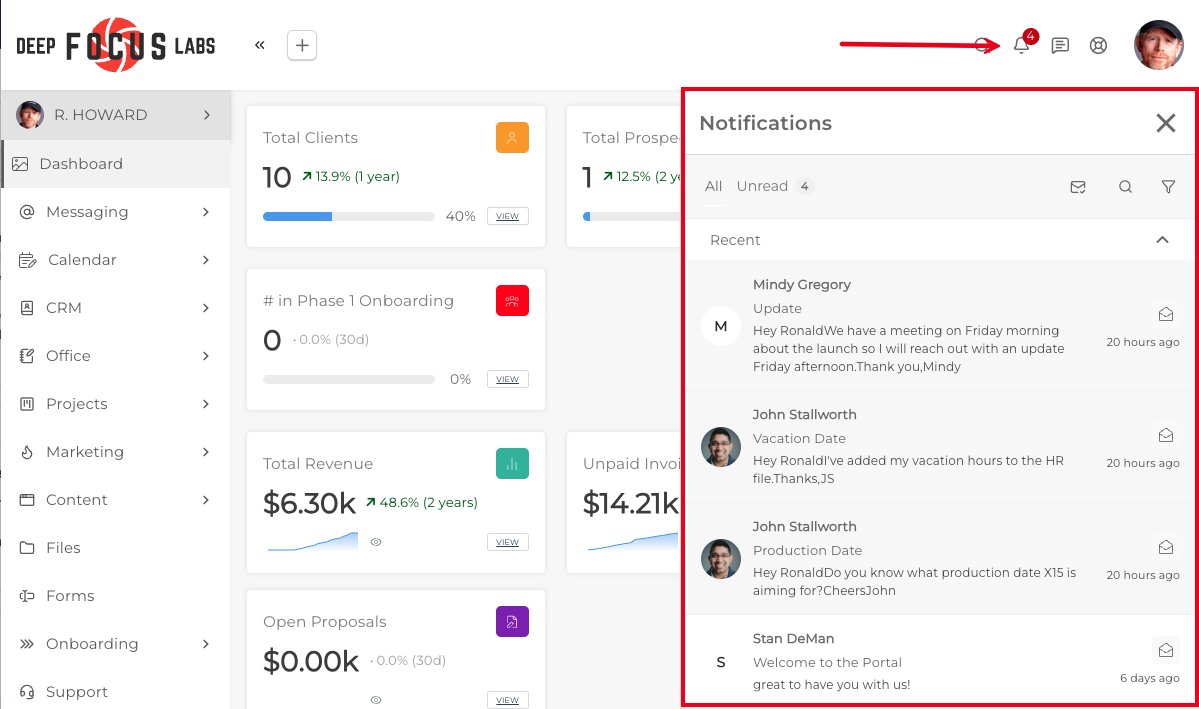
The Notifications Panel is the slide-in side panel that opens when you click the bell icon in the top bar. It is your single place to see what has happened recently across the Portal that involves you, such as new Messages, Form submissions, Contract activity, Project Notes, Support Tickets, Workflow assignments, and more.
The panel is universal. Every role sees the bell and the panel with the same layout and behavior, whether you are an Owner, Team Member, Client, Contact Person, Lead, or Affiliate. The items you see are scoped to your own activity feed.
How do I open the Notifications Panel?
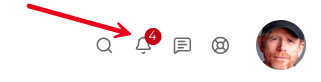
Click the bell icon in the top bar. The panel slides in from the right side of the screen.
The number on the bell icon shows your current unread count. It displays the exact number when you have 9 or fewer unread items, switches to 9+ when there are more, and is hidden entirely when you have zero unread.
To close the panel, click the bell icon again, click anywhere outside the panel, or use the close control inside the panel.
TIP: The bell badge updates in real time. If a new notification arrives while you are working, the count goes up immediately without needing a page reload.
How do I switch between All and Unread?
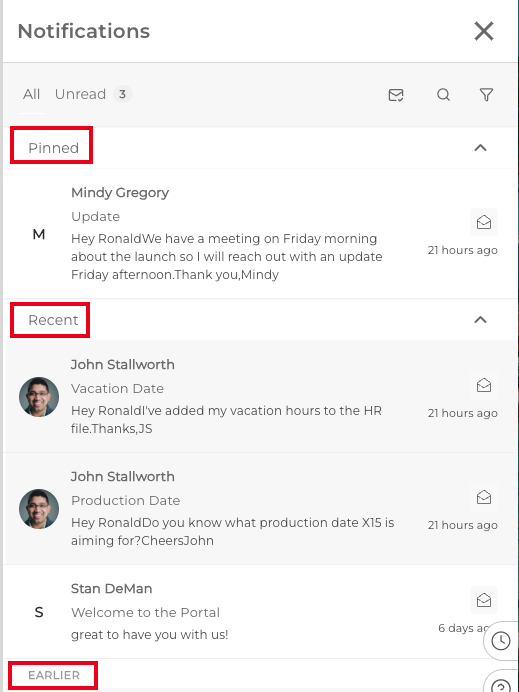
At the top of the panel you will see two tabs: All and Unread. The Unread tab also displays a small count badge showing how many unread items you currently have.
 All: Shows your full notification feed, both read and unread.
Unread: Shows only the notifications you have not yet read.
Click either tab to switch to between them. The view updates immediately, and any active filter you have applied continues to apply on top of the active tab.
TIP: When you mark an item as read while you are on the Unread tab, the row will dwell visibly in the list until you switch tabs or close and reopen the panel. This keeps the list from jumping around as you process notifications.
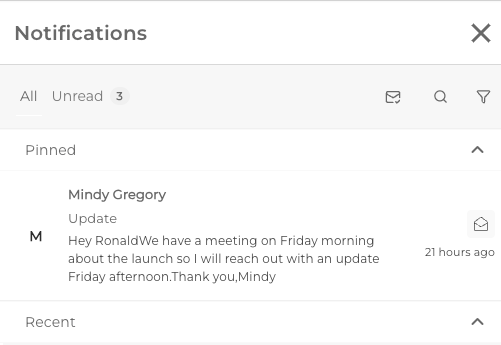
How do I read a notification row?
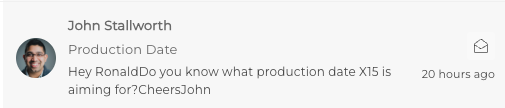
Each row in the panel is laid out the same way so it is easy to scan:
- Avatar (left): The Staff member, Client, or Contact who triggered the notification. Falls back to a first-letter avatar when no photo is available.
- Sender name and message (middle): Up to three lines of content describing the activity.
- Relative timestamp (bottom-right): How long ago the notification arrived, in plain language such as "5 minutes ago" or "2 days ago".
Click the body of any row to jump to the related item, such as the Message thread, Contract, Form submission, or Project the notification points to.
How do I mark a single notification as read or unread?
Hover over the top-right corner of any row on desktop, or tap the top-right corner on a touch device.
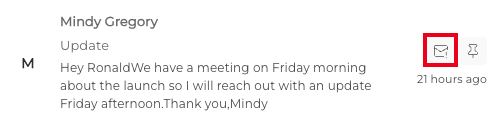
- Mark as read / Mark as unread: Toggles the read state of that single notification.
TIP: The update is instant, with no confirmation prompt and no spinner. If the action cannot be saved for any reason, the row reverts and a brief error message appears so you can try again.
How do I pin a notification?
Reveal the action group on the row (hover the top-right corner on desktop, tap it on touch) and choose Pin. The row animates up into the Pinned section at the top of the panel.

Pinned notifications stay at the top of the panel regardless of how old they are, so you can keep important items in easy reach. To unpin, reveal the row's actions again and choose Unpin; the row animates back into the Recent list in its natural date position.
Pinning is independent of read state. A pinned item can be read or unread, and pinning will never change whether it counts toward your unread badge.
TIP: Some notification types are automatically pinned for you, such as Workflow assignments. You can still unpin them yourself, and they will not re-pin themselves on the next refresh.
How do I mark all notifications as read?
Click the Mark all as read icon in the top tab row of the panel.
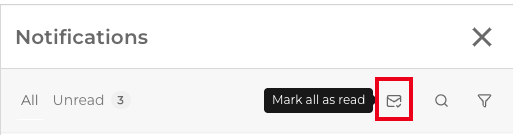
This clears the entire unread state for your account, not only the rows that are currently visible. The bell badge clears, the Unread tab badge drops to zero, and the colored left-edge bar fades from every row.
The action is hidden when there is nothing to mark as read.
IMPORTANT: Mark all as read does not ask for confirmation. The action is immediate and applies to your full unread set across the Portal.
How do I filter notifications?
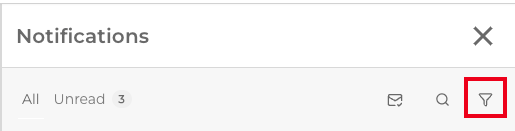
Click the filter icon in the top tab row of the panel to open the filter popover.
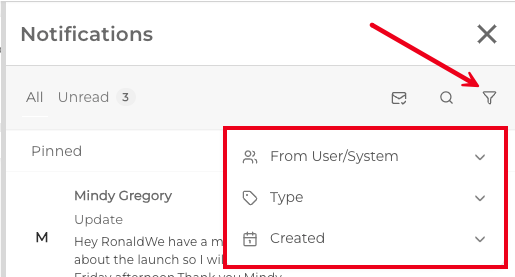
Three filter facets are available:
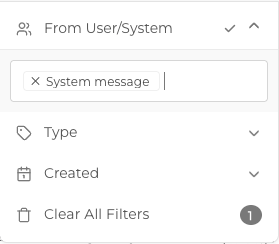
- From User/System: Multi-select. Choose one or more senders, including a System option for notifications generated by the platform itself rather than a specific user.
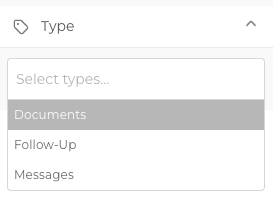
- Type: Multi-select. Choose one or more activity types, such as Messages, Contracts, Workflows, Project Notes, or Support Tickets.
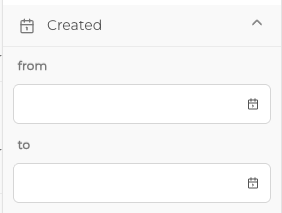
- Created: Date range. Pick a From and To date to limit results to notifications that arrived in that window.
Filters combine with the active tab using AND logic. For example, choosing Type = Message with the Unread tab active shows only your unread Message notifications.
Use Clear all inside the popover to wipe your selections. Closing the panel also clears the filter automatically, so the next time you open the panel you start with a fresh view.

TIP: New notifications that arrive in real time while a filter is active are still received behind the scenes. If they match your filter, they appear in the list right away. If they do not match, the bell badge still updates so you know something arrived, and they will appear as soon as you adjust or clear the filter.
How is the list ordered, and what is the Earlier sub-label?
Notifications are always sorted newest-first within each section. Pinned items sit above unpinned items, and within each group the most recent notification appears at the top.
Inside the Recent section you may see an Earlier sub-label part-way down the list. This is a visual divider that separates notifications from the last 7 days from anything older. It does not change the order, it only helps you scan the list at a glance.
What is the push-permission banner?
The banner at the very top of the Notifications Panel lets you turn on or troubleshoot push notifications so you receive alerts even when the Portal is not open in your browser. The banner only appears when there is something for you to act on; otherwise it stays hidden.The banner has four states, and the right one shows up automatically based on your device and browser:
- Enable push notifications: You can grant browser permission directly from here. Click Enable, then accept the prompt your browser shows.
- Install the app: On a supported browser, you can install the Portal as a desktop or mobile app for a more reliable notification experience. Click Install to launch the prompt.
- Install on iOS: On an iPhone or iPad, follow the on-screen instructions to add the Portal to your Home Screen using Safari's share menu.
- Re-enable on this device: You have push enabled in your account preferences but this specific device is not subscribed. Click Re-enable to subscribe this device.
Each banner state also offers a Dismiss action if you want to hide it for the current session.
What happens when there is nothing to show?
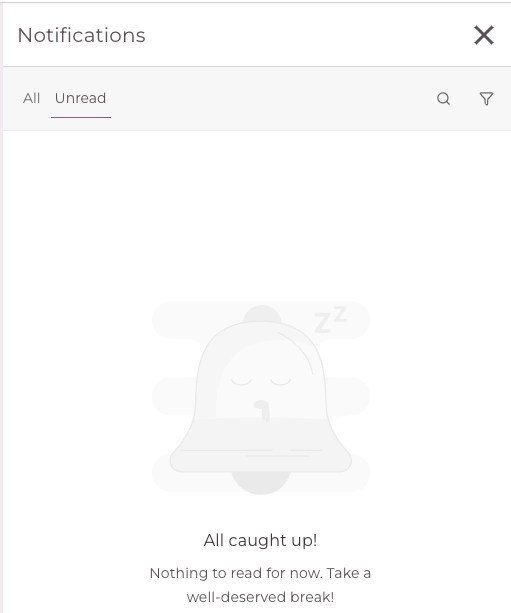
The panel shows a friendly empty state when the list is blank:
- All caught up: Appears on the Unread tab when you have zero unread notifications but still have read items in your history.
- No notifications yet: Appears on the All tab when your activity feed is completely empty.
- No matches found: Appears when you have an active filter applied and nothing in your feed matches the selected facets. Clearing or adjusting the filter brings results back.
More consistent notifications across your Portal
Your System Notifications (the bell) and your Activity Stream now cover many more of the meaningful actions that happen across your Portal. Previously, some events sent an email but did not raise a bell notification or post to the Activity Stream, so coverage was uneven from one area to the next. This update now normalizes that, so the important things notify you consistently, alongside the emails that already send.
There is nothing to set up. This works automatically, and it applies to all account types, not just certain ones.
Where do these notifications appear?
Notifications surface in two familiar places:
System Notifications (the bell): personal, per-user alerts that appear in the bell panel for the people an action actually concerns.

- Activity Stream (Live Stream): the account-wide activity feed, which now records more events, each shown to the appropriate audience so nothing is visible to the wrong role.

What kinds of events now notify?
Coverage was expanded across the platform. You will now see notifications more consistently for actions in areas such as:
- Projects and Tasks: assignments, status changes, Client approvals and rejections, Project updates, questions and replies, and due-date reminders.
- Billing: subscription cancellations and failed charges, card and payment-method events (such as expiring cards), Estimate and Invoice lifecycle events, and free-trial reminders.
- Files: uploads, new versions, shares, and fulfillments.
- CRM: action, goal, note, and Contact assignments, and coordinator changes.
- Appointments and Calendar: creation, rescheduling, cancellation, and calendar deletions.
- Contracts and Proposals: contract voids and Proposal expirations.
- Forms and Flows: intake submissions and help requests.
- Messages: activity recorded to the stream, plus a read-receipt notification to the sender.
- Account: security events (such as email changes and password resets) and background job completions (such as imports).
- Work Requests, Portal Pages, Reports, and LMS: lifecycle updates, report and export deliveries, and learning enrollments.
TIP: Recurring reminders (like a Project end-date reminder) raise a bell notification without cluttering the Activity Stream, and security-related events stay out of the Activity Stream entirely.