
DOCUMENTS: Document Generators
What is a Document Generator?
A Document Generator is basically an unassigned Document, which you can build and assign to the appropriate person. This is where you lay out the groundwork for your Document and spell out all of the terms.
You can then use Dynamic Data Placeholders for the variable details, including Signers for the assigned users to eSign. In this way, you can create a single Document Generator and generate multiple personalized Documents from it.
TIP: A Document Generator is required to create a Document. The Document is simply the bridge between the content/terms and the Contact.
How do I create a Document Generator?
Navigate to Office > Documents.

Click the Generator tab in the top navigational menu bar, then click the +Add Generator button.
 You'll now be able to begin building your Document Generator.

Document Generator Title: Name your Document Generator. This is what you will select from the dropdown menu while creating a new Document.
Prevent this Document from showing in the Urgent Notification Bar: By default, the Target will see the Urgent Notification Bar with a direct link to sign the Document. If this setting is enabled, the Document will not appear in the Urgent Notification Bar. NOTE: this setting will only appear if a Signature is required for the Document.
CLICK HERE to learn about the Urgent Notification Bar
Create Document as Draft: When you assign this Generator as a working Document, toggling this option will create the assigned Document as a draft so you can still make changes before saving it as open.
Document Title: This is the title of the Document. You can use the Placeholder icon to access any placeholders that you would like to add to your title.
Document Target. CRM Target will be pre-filled however you can change this to Staff/Team Target by selecting form the dropdown.

Enable Document for Digital Signature: Toggle this setting on to set the signature requirements for this Document Generator. If no signatures are required, keep this setting toggled off.
IMPORTANT: If this setting is toggled on a signature placeholder is required to save the Document Generator.
 Require Signature From Target: If this is toggled on the Target that is assigned this Document will be required to sign.
Require Signature from your Organization: If this is toggled on a Staff member is required to sign the document on behalf of the Organizations. Select the Staff member from the dropdown.
CLICK HERE to learn about Digital Signing
 The Body is where you will create the content of your Document. It uses the Content Block Editor with some additional specialized Placeholders while using a Text Block.
CLICK HERE to learn about the Content Block Editor
By default the Body contains basic content for a standard Document. You can edit this to suit your needs, or delete it entirely and build your own.

When you edit the default Text Block, you will see Dynamic Data Placeholders as buttons that you can replace. These Placeholders automatically generate the correct corresponding content depending on who is viewing the Document.
To access the full list of Placeholders, click the {x} icon in the editor toolbar.
CLICK HERE to learn more about Placeholders
 When you want to insert a Placeholder, simply click the one you would like to use and it will be placed where your cursor is in the Document Body.
The Document-specific Placeholders are color-coded red. This includes Signers, special placeholders that generate an eSigning field, which requires action by the assigned user.
The Placeholders you can use to generate Signers for the Target's input are labeled as "documentTarget"; the Placeholders you can use to generate Signers for the Organization signnature input are labeled as "documentOrganization".
For example, if you would like to add a signature field for your CRM Target to sign, you would use the following Placeholder: "documentTargetSignature".
Styling options
To the right of the screen there are tabs you can use to Preview, Edit, add Custom CSS/JS, add Font Options, Attach Files and Save.

Click the icon shown above to Preview what the Document will look like when the generator is used.

Click the icon shown above to Edit the Document Generator.

Click the icon above to add Custom CSS/JS.
 Click the icon above to add your Document Font Options.
CLICK HERE to learn more about Font Options.
 Click the paperclip icon to Attach Files to the Generator.

Click the icon above to Save your edits.
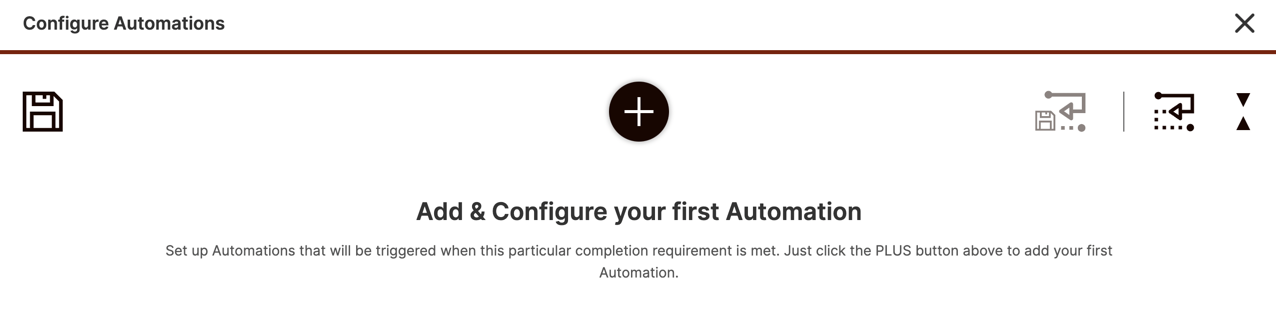
How do I assign Automations to my Document Generator?
You can add Automations to your Document Generator by clicking the Configure Automation button once you are finished setting up the Body.
 CLICK HERE to learn about Automations. A modal will appear over your Document Template. You can stack as many Automations as needed.
You can also apply an Automation Template.
CLICK HERE to learn about Automation Templates
Each Automation will have its own configuration that you will need to set.
Once you save your set of Automations, you will see the chain displayed at the bottom of the editing page. You can click Configure Automations to add, remove or edit them.

You can also add file attachments if required.

I've made my Document Generator! What happens next?
Now that you've built your Document Generator, you can turn it into a full-fledged Document at any time by navigating to Office > Documents. You can assign it directly to a CRM Target or a Staff/Team Target, or you can apply it to an Invoice, Estimate, Proposal or Project to pull the relevant information from. The Placeholders you have placed within the body of the Generator will conform to the correct information, and the Signers will be designated for the appropriate person(s) to sign.
CLICK HERE to learn how to generate a Document